
The object of this article is to demonstrate methods to test and debug PowerShell scripts from your workstation. Using this method does not require a remote desktop session. Having PowerShell installed locally is a useful tool when writing or troubleshooting scripts for Windows instances. Having the Mac version of PowerShell provides the same benefits as using the Integrated Scripting Environment (ISE) that is available on Windows systems. This includes the auto-complete feature (intlisense), and the ability to apply color-coded syntax.
Installation
Disclaimer: PowerShell for Mac does not include some of the Windows specific cmdlets (including WIMObject and CIMInstances), so it may not be possible to use these objects for testing.
The install process is simple, all you need is a terminal session from your Mac, and MacOS build 10.12 or higher. All of the commands listed below should be run within the MacOS terminal.
1. Start by installing Homebrew:
/usr/bin/ruby -e "$(curl -fsSL https://raw.githubusercontent.com/Homebrew/install/master/install)"2. Install Homebrew-Cask so additional packages can be installed:
brew tap caskroom/cask3. Now for PowerShell:
brew cask install powershellNote: The PowerShell formula for Homebrew includes OpenSSL as a dependency. “On macOS, .NET Core requires Homebrew’s OpenSSL because the “OpenSSL” system libraries on macOS are not OpenSSL, as Apple deprecated OpenSSL in favor of their own libraries. This requirement is not a hard requirement for all of PowerShell. However, most networking functions (such as Invoke-WebRequest) do require OpenSSL to work properly.”
PowerShell can be installed without OpenSSL, but some functionality may be lost. Here are the steps to install PowerShell without OpenSSL.
Updating
When a new version of PowerShell is released, simply update Homebrew and then upgrade PowerShell with these commands:
brew update
brew cask reinstall powershell
Note: At the time this article was authored, there is a known defect in Cask. At present, PowerShell must be completely reinstalled to upgrade to a newer version.
Verification and Testing
The PowerShell installation can be verified and tested within VisualStudio. The Mac version can be downloaded here.
Once VisualStudio Code has been installed, launch the application and add the PowerShell extension.
1. Open VScode
2. Click the highlighted icon referenced below:
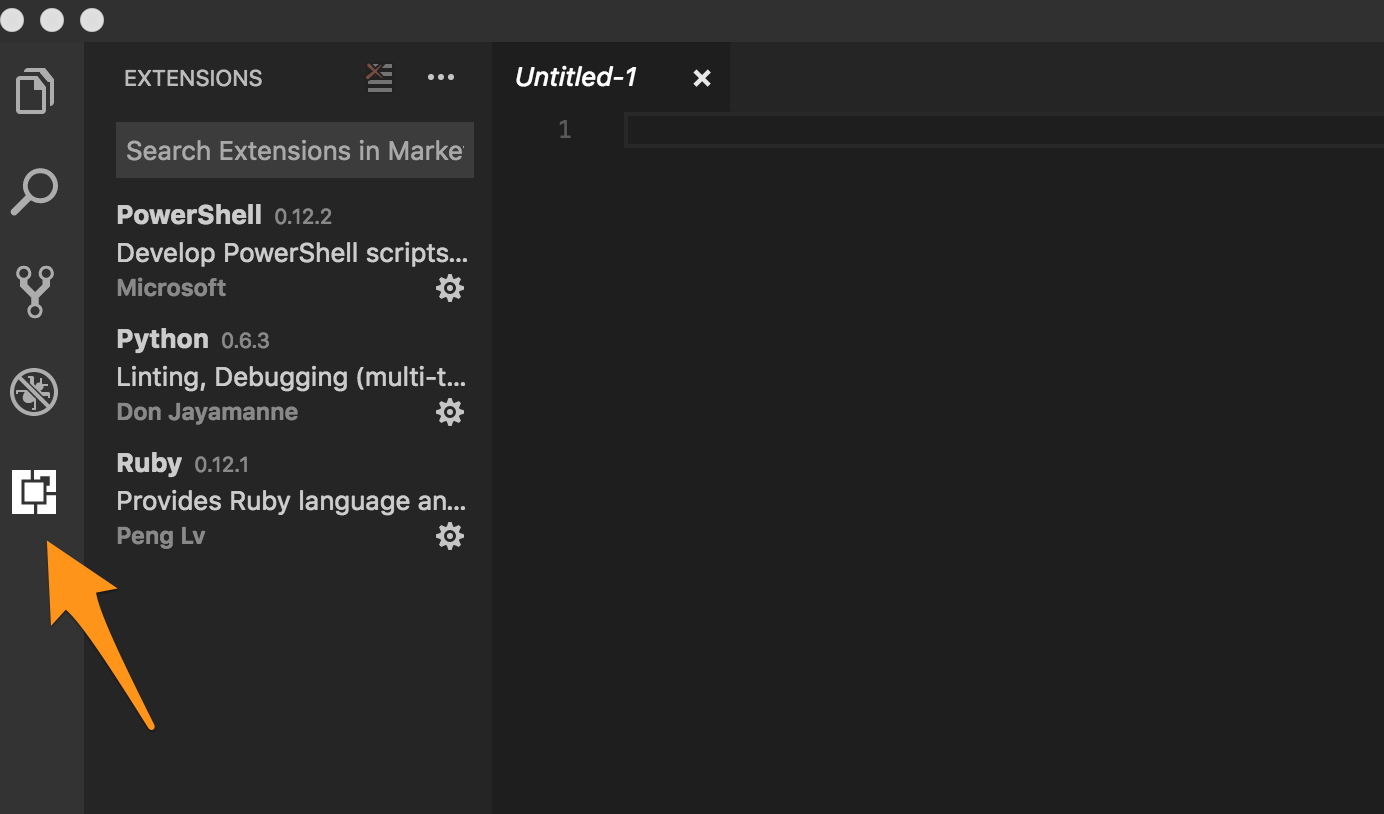
3. Search for PowerShell and install the one from Microsoft
4. Once installed, click the “Reload” button so the extension loads
5 .To verify that PowerShell has been properly installed, open any *.ps1 script. New scripts can also be created here.
Uninstallation
PowerShell can be uninstalled from the terminal with the following Homebrew command:
brew cask uninstall powershell
Feel free to browse our Community Exchange for more PowerShell-based LogicModule examples.