
Testing the Steps of a Web Check
Last updated on 20 March, 2023Once you’ve created a Web Check, you can test its step(s) from the Steps tab. As shown (and discussed) next, there are several testing options available to you.
Select Checkpoint
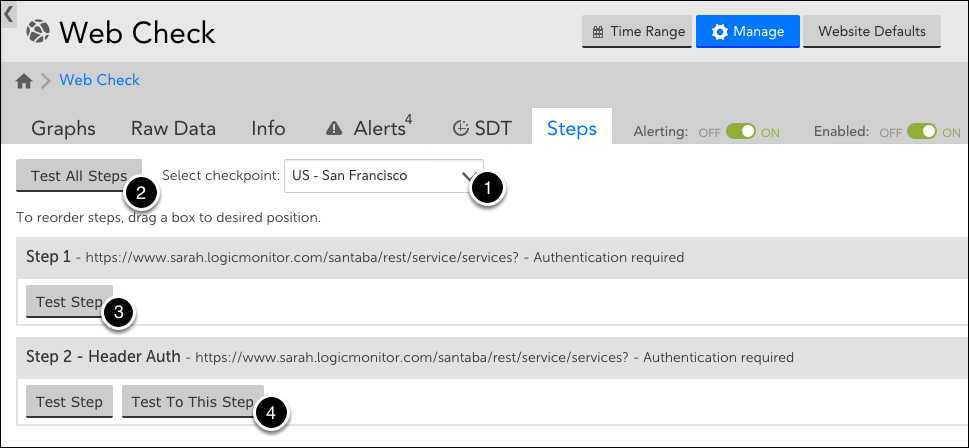
From the Select checkpoint field’s dropdown menu (labeled “1” in the image above), select the checkpoint from which the step(s) should be tested. Depending upon whether the website is being tested by a standard Web Check or an Internal Web Check, you will be choosing from either a list of one or more external testing locations or internal Collectors.
Test All Steps
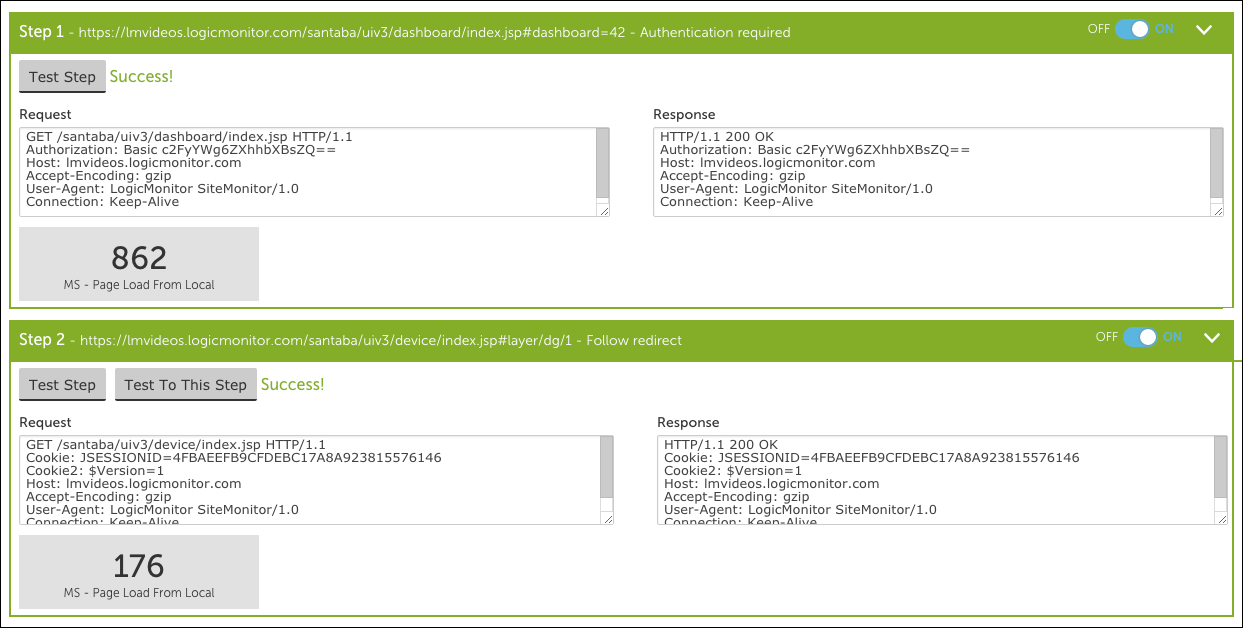
Clicking the Test All Steps button (labeled “2” in the image above), will test all steps currently configured for the Web Check. As shown next, the result of the test, along with HTTP request and response details, will be displayed for each step.
Test Step
Clicking the Test Step button located under a step (labeled “3” in the image above) will test just that one step. The result of the test, along with HTTP request and response details, will be displayed.
Test To This Step
Clicking the Test To This Step button (labeled “4” in the image above) located under a step will test all steps that precede it, up through the step itself. The result of the test, along with HTTP request and response details, will be displayed for each step.