LogicMonitor comes with a robust library of pre-built DataSources that automatically monitors hundreds of devices without any manual setup. Just add the device, and you’re up and running.
But what if you’re working with something that’s not covered in the LogicMonitor Exchange? If it supports SNMP versions, you can build a custom DataSource to collect exactly the metrics you care about.
There’s no one-size-fits-all blueprint here. Every device and every environment is different. But with the right process, you can build SNMP DataSources that are reliable and reduce alert noise instead of adding to it.
So let’s see how you can go from “I need visibility into this device” to “I’ve built a reliable, low-noise DataSource that works.”
TL;DR
Custom DataSources monitor unique or unsupported devices by focusing on critical, early-warning metrics.
Always check for pre-built options first. Custom builds are best when pre-built options don’t meet your needs.
Good planning (MIB review, structuring, smart thresholds) keeps your data clean and alerting under control.
Validate your datapoints and alerts in the real world before rolling them out broadly.
1. Figure Out What You Need To Monitor
Every custom DataSource starts with a problem you want to catch earlier. Maybe a server’s running out of memory. Maybe a switch port keeps flapping and no one knows until users complain. Your goal is to surface that issue before it turns into an outage.
For this, use SNMP DataSources. They let you track what actually matters in your environment, even if it’s not covered.
Start by asking:
What’s gone wrong (or keeps going wrong)?
Could it have been caught earlier?
What would I want to be alerted on next time?
Some issues give you early signs such as rising CPU temps, repeated error counts, or slow performance. Others, like sudden drive failures, don’t. Either way, knowing the problem helps you build a focused, useful DataSource that surfaces the right data without adding alert noise.
2. Decide Whether To Build or Start With Something Pre-Built
LogicMonitor includes a large library of pre-built SNMP DataSources for common devices including routers, switches, servers, and more. These are tested, maintained, and ready to use with zero configuration. If your device is covered, there’s no reason to start from scratch.
But not every environment is standard. Niche hardware, proprietary systems, or edge use cases may not be supported out of the box. That’s when it makes sense to go custom.
A good rule of thumb:
If the data’s available and the device is common, start with what’s already built.
If the metrics are missing or need customization, build your own or modify an existing template.
If you’re still unsure, import a similar DataSource and tweak it — add a datapoint, adjust thresholds, or clean up instance discovery filters. You may only need a small change to get the result you’re after.
The goal is to get reliable visibility with the least effort. So use what works. Customize when you need to. And when in doubt, don’t restart, just refine.
Before you start building, take time to understand the device you’re monitoring. Your goal is to identify the right metrics: what’s available, what’s relevant, and what signals an issue before it becomes a problem.
Which metrics help me act proactively vs. those that just confirm a problem?
You don’t need to monitor everything; focus only on the data that helps you stay ahead. If there’s vendor documentation or community insight available, use it.
4. Map Out How Your DataSource Should Be Structured
Next, take a few minutes to plan your structure. Will this be a single-instance DataSource, or do you need multiple instances? Are you better off grouping everything together or separating metrics into focused modules?
Here’s what we suggest:
Multi-instance: Best for repeated components like network interfaces, power supplies, or fans.
Single-instance: Ideal for system-wide metrics like total memory or overall CPU usage.
And while it’s possible to put everything into one DataSource, it’s not always the best move. Split CPU, memory, and other metric groups into separate, well-named DataSources as it makes graphing, alerting, and ongoing management much easier.
A little structure up front saves a lot of time later. Get it right early, and the rest of your build will move faster and make more sense when you revisit it later.
5. Build a Rough Version With the Metrics That Matter
Now it’s time to build your prototype. Start with the metrics that help you catch issues early or take meaningful actions. For each key metric, map it to the correct OID from the device’s MIB, and define it as a datapoint in your DataSource.
Not every OID is useful. Some give you actionable insights like CPU load, temperature, or available memory. Others return static values or obscure counters that don’t tell you anything helpful. Skip those.
When deciding what to include, ask:
Would this help me catch a problem before it escalates?
Would I take action if this value changed?
If the answer’s no, leave it out because clean and focused DataSources are easier to manage and generate fewer noisy alerts.
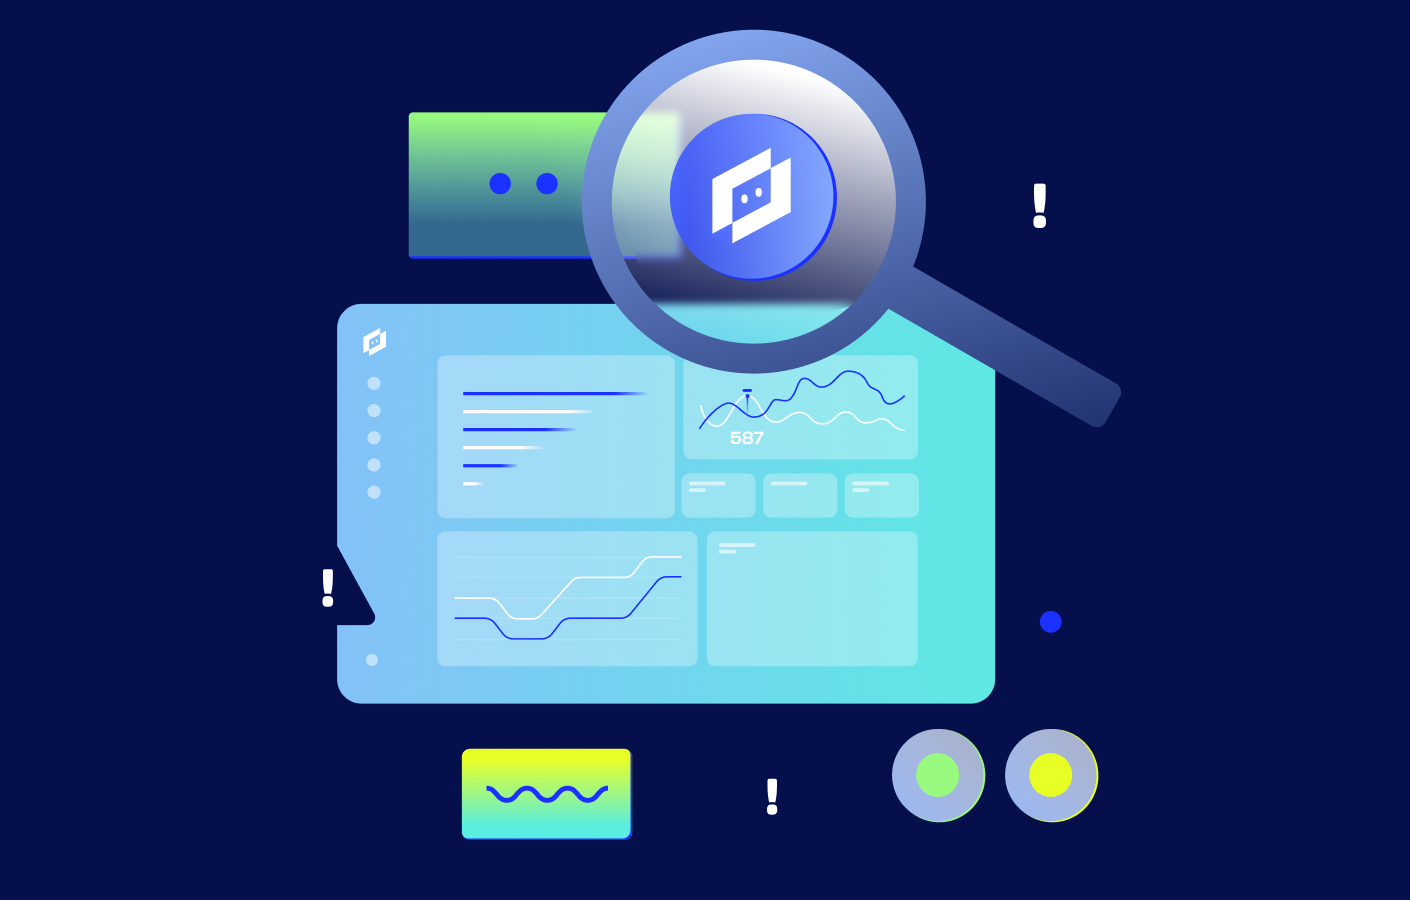
This is also a good time to preview how the data will look in LogicMonitor. Check how the metrics graph over time, understand polling behavior, and make sure the output is usable. It doesn’t have to be perfect right away. But a thoughtful foundation makes tuning and scaling much easier down the line.
Not every spike needs an alert. Your team shouldn’t have to babysit graphs 24/7.
6. Set Smart Thresholds to Avoid Alert Fatigue
Once your prototype is working, fine-tune your alert thresholds. This step turns a functional DataSource into one that’s actually useful in production.
Remember, our goal is to avoid false positives and get alerts on real issues. If every CPU spike or memory dip triggers a critical alert, your team can get frustrated and may end up ignoring important alerts.
Here’s how to dial in thresholds that work:
Start with intent: Ask what each datapoint is telling you. Is it something that demands immediate action or something to monitor over time? Use Info and Warning levels to flag non-critical changes and reserve Error and Critical for true impact.
Base thresholds on real-world behavior: Use historical data to guide your limits. A short CPU spike may be normal but a sustained rise isn’t. Dynamic thresholds reduce false positives and make alerts more actionable.
Filter what doesn’t matter: In multi-instance DataSources, use discovery filters to eliminate noise from non-critical instances. You want alerts on what’s relevant, not 200 identical ones from low-impact interfaces.
Write actionable alert messages: Replace vague labels like “Threshold exceeded” with context: “Memory usage high. Check for runaway processes.” These save time in case of disruptions.
You’ll probably need to iterate a few times to get thresholds just right but putting in the effort now saves hours of alert triage later.
7. Test It in Real World and See How It Works
Once your thresholds are set and your DataSource looks good in LogicMonitor, validate it in the real world. Run it against target devices and start collecting live data.
Check for two things:
Is the data accurate and complete?
Are alerts firing as expected: no more, no less?
If you see gaps in DataSource graphs, unexpected values, or missing data, something’s off. Maybe an OID isn’t returning data consistently. Maybe your discovery settings are too broad or too narrow. This is the moment to fix those issues before you scale.
If possible, simulate real-world failure scenarios: disconnect a cable, stress test a CPU, or stop a critical service. Trigger the condition your DataSource is meant to catch and verify that the right alert fires. Don’t overlook the visual layer either. Clear, well-structured graphs speed up troubleshooting just as much as a well-tuned alert.
Once you’ve confirmed everything behaves as expected, you can confidently roll the DataSource out to additional devices.
A few hours of testing now can save you a weekend of cleanup later.
Create Smarter DataSources in LogicMonitor
There’s no one-size-fits-all approach to building SNMP DataSources and that’s exactly the point. LogicMonitor gives you the flexibility to monitor what matters, tune alerts to your environment, and eliminate noise before it reaches your inbox.
Whether you’re creating something new or refining an existing module, the goal is the same: build DataSources that surface real issues, not just more data.