
TopologySource Configuration
Last updated - 26 April, 2023
TopologySources are a type of module used for topology mapping. TopologySources use ERIs to define the connections between vertices. The output of a TopologySource is a JSON object consisting of edges. TopologySources are created to run out of the box and rarely require custom configurations. For more information, see Topology Mapping Overview.
For most networking topology, TopologySources leverage layer 2 and layer 3 discovery protocols to gather information that is used to define logical relationships among the many monitored resources in your network. For example, information about VLANs is contained in certain OIDs, WMI classes, and API calls. For VMware, TopologySources access the vCenter API to gather relationship information and leverage the VMMoRefIds.
TopologySource Relationship Definition Types
Topology relationships can be defined in one of the following ways:
- Using embedded Groovy and PowerShell scripts. For more information, see Embedded Groovy Scripting and Embedded PowerShell Scripting.
- Based on existing host properties without writing code in Groovy or Powershell.
Configuring a TopologySource
- In the LogicMonitor navigation sidebar, select Modules.
- From My Modules Toolbox, select Add.
- In the Add window, select TopologySource.
The Add New TopologySource window displays and contains tabs for Info, AppliesTo, and Collection.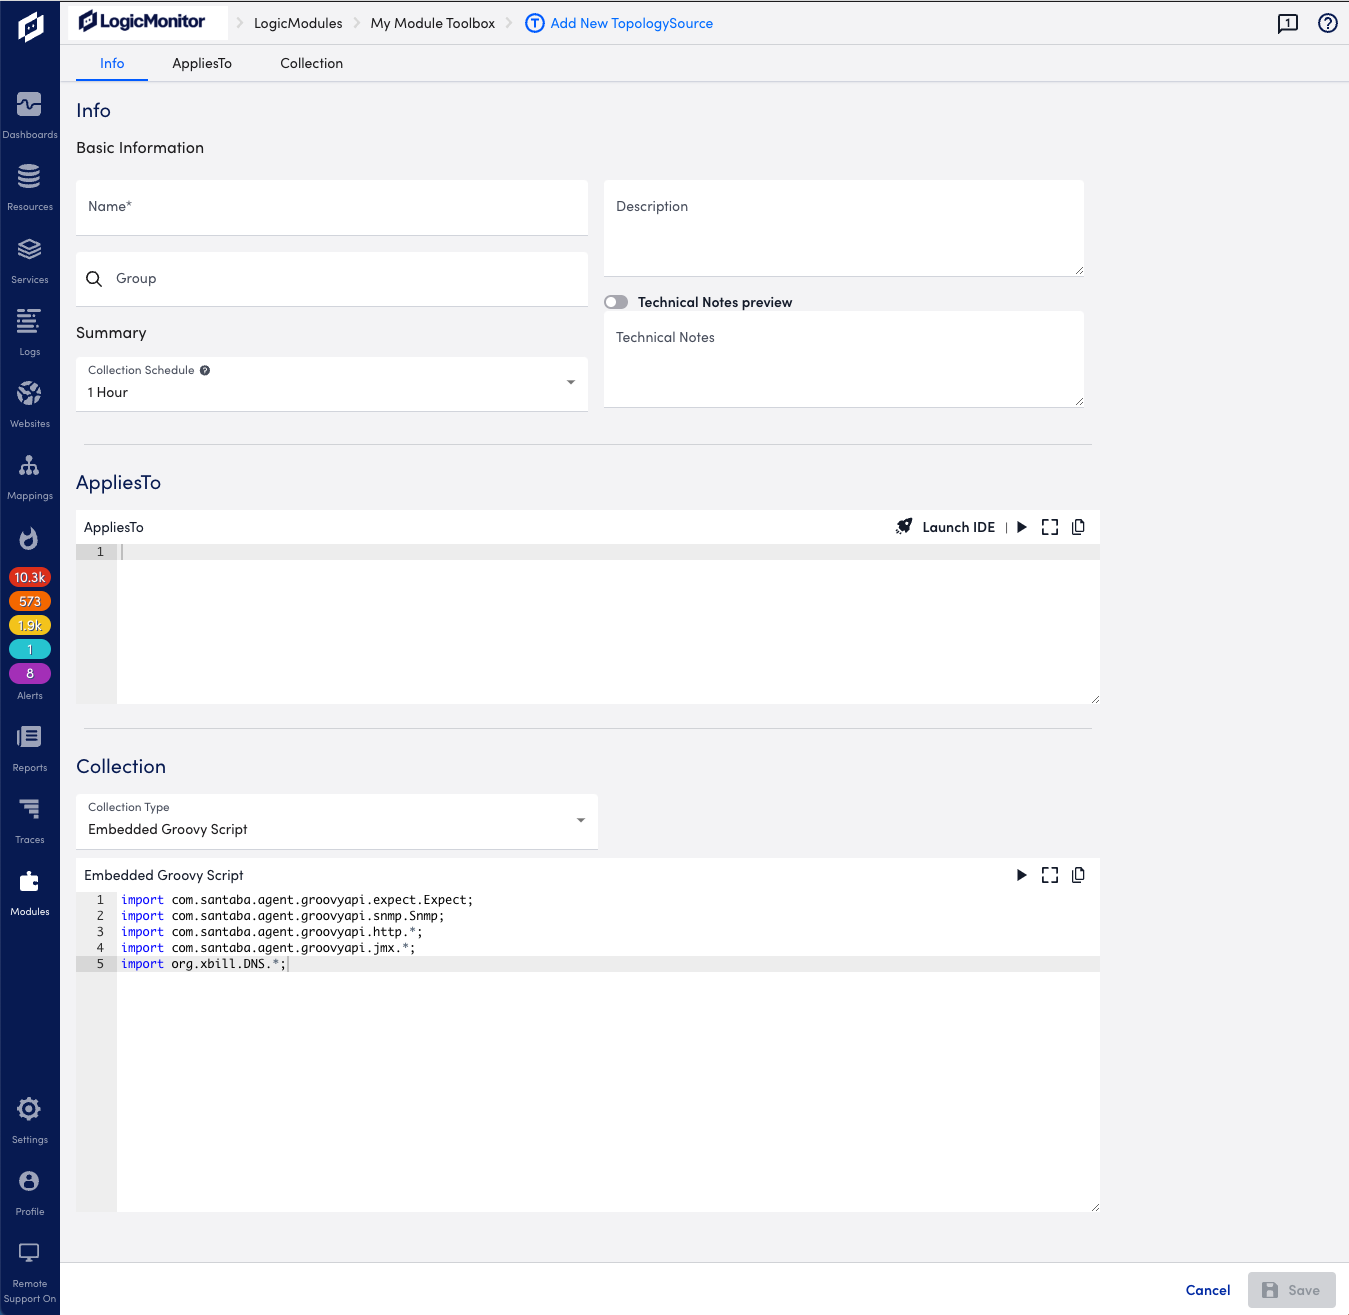
- On the Info tab, enter the following information:
- Name: Specify the platform and, if necessary, a specific component of the platform.
- (Optional) Description: Provide enough detail to ensure that the TopologySource’s purpose can be determined.
- (Optional) Group: Specify the group to which the TopologySource will be added.
If this field is left empty, the TopologySource is added into the default “@ungrouped” group. If you enter text that does not match an existing TopologySource group, a new group is created. - Collection Schedule: Select a 1 hour (default), 4 hours, 8 hours, or 1 day interval for collecting data.
- (Optional) Technical Notes: enter any technical notes using markdown.
- (Optional) On the AppliesTo tab, do the following:
- In the AppliesTo field, enter AppliesTo scripting.
The AppliesTo field accepts LogicMonitor’s AppliesTo scripting as input to determine which resources are associated with this JobMonitor. For more information, see AppliesTo Scripting Overview. - Select the Test Script icon to return a count of matching resources and display them in the AppliesTo results panel.
- In the AppliesTo field, enter AppliesTo scripting.
- (Optional) On the Collection tab, do the following:
- In the Script Type dropdown, select a script type option.
- Select the Test Script icon, select a resource, and then select Run Test.
- Select Save.
- (Optional) Select Commit Version to save this version of the module and roll back to it at a later date, and then do the following:
- (Optional) In the Commit a Version window, enter any version notes.
- (Optional) Toggle on Make this version public to make this module available to all LogicMonitor users in the LM Exchange.
- Select Commit Version.
