
AWS Cost by Tag Monitoring
Last updated – 21 August, 2025
The Cost by Tag is a multi-instance DataSource that enables you to collect values for tagged items in the AWS Cost and Usage report, providing a detailed cost breakdown. LogicMonitor automatically adds the AWS Cost by Tag DataSource when you configure AWS billing.
To use this DataSource in a multi-instance configuration, add instances using one of the following methods:
- Enabling Active Discovery (AD)—When AD is enabled for the Cost by Tag DataSource, LogicMonitor automatically discovers one instance per tag value. This enables you to avoid manually entering values for each tag.
For example, if you use the Cost by Tag DataSource to track applications, and your environment has 100 applications, LogicMonitor automatically discovers and adds each application as a separate instance associated with your AWS account. For more information, see Active Discovery. - Manually adding instances—You can manually add instances to a DataSource by entering each tag value that you want to track.
For each tag you want to track costs for, you must use a different DataSource. You can clone the DataSource as needed. For more information, see Cloning a LogicModule.
Recommendation: Use the Cost by Tag DataSource provided by LogicMonitor as a template to clone as needed.
Requirements for Monitoring the AWS Cost by Tag DataSource
To monitor the AWS Cost by Tag DataSource you need to do the following:
- You must set up monitoring for AWS billing. For more information, see AWS Billing Monitoring Setup.
- If your environment does not include the Cost by Tag DataSource, you must import it. For instructions on importing DataSources, see LogicModule Updates.
Enabling Active Discovery for the Cost by Tag DataSource
- In LogicMonitor, navigate to Settings > LogicModules.
- In the Filter Modules… search bar, search and select the “AWS_Billing_CostByTag” from the DataSources list.
- Select
 Edit to expand the Active Discovery options.
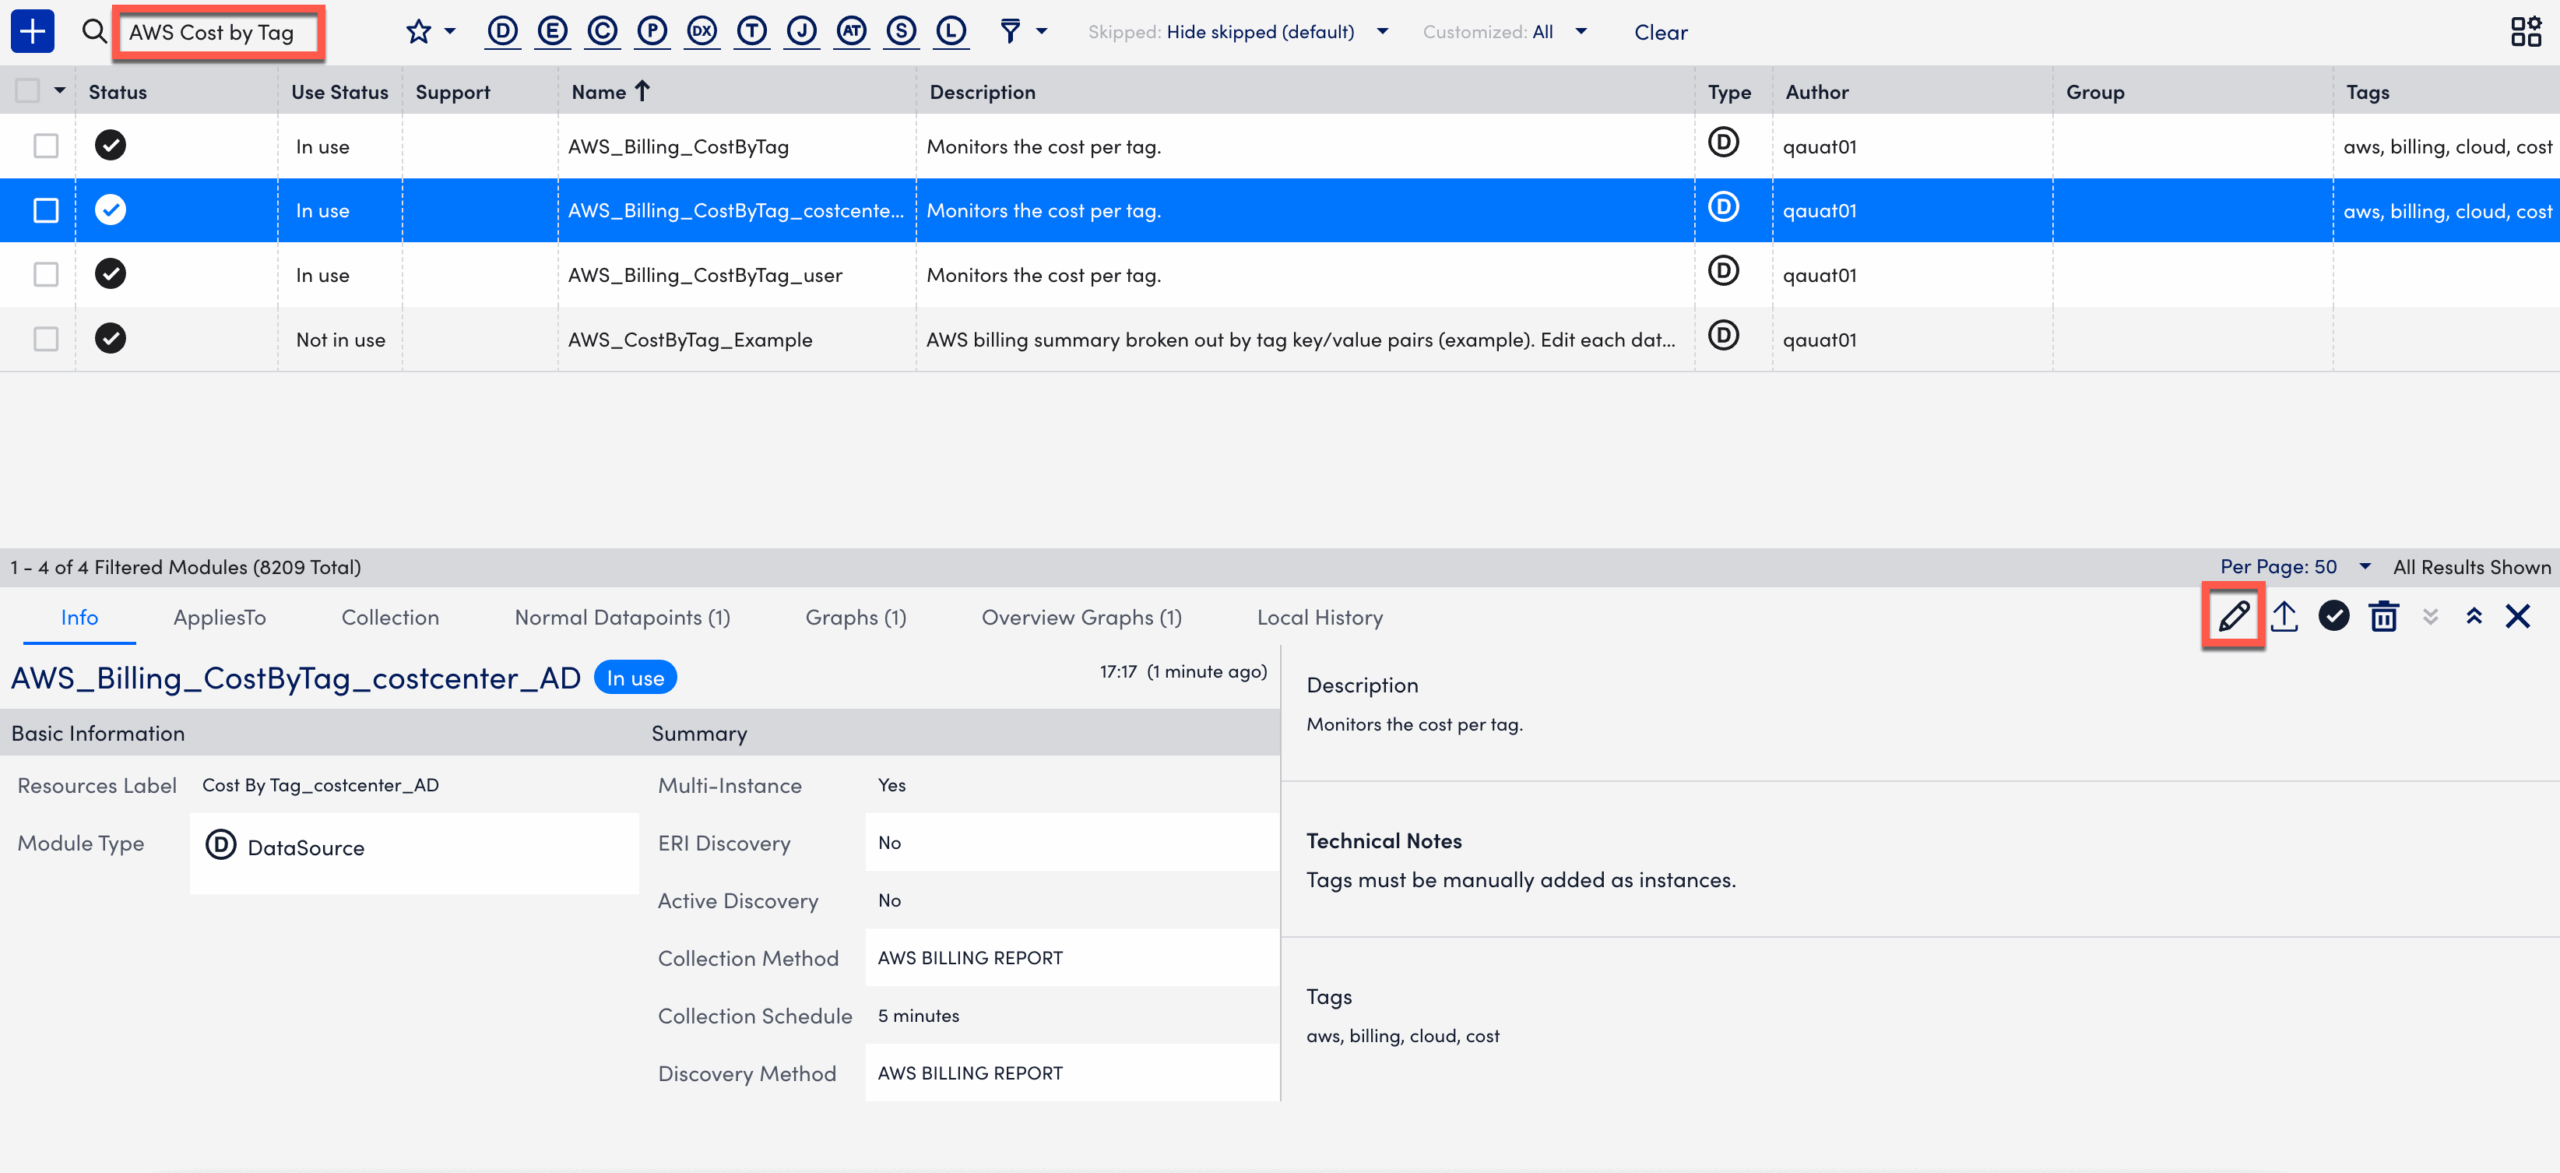
- Update the values in the Name, Resource Label, and Description fields, if necessary.
- Toggle the Enable Active Discovery switch. This enables LogicMonitor to dynamically identify and track new values for user-defined tags in your AWS billing data.
- Select the Active Discovery tab.
- In Arguments, select “AWS BILLING REPORT” from the Discovery Method dropdown.
- In the AWS Billing Report Attribute field, enter a the tag to track.
You must prefix the value withuser.
For example, enteruser:OSto discover the supported operating systems.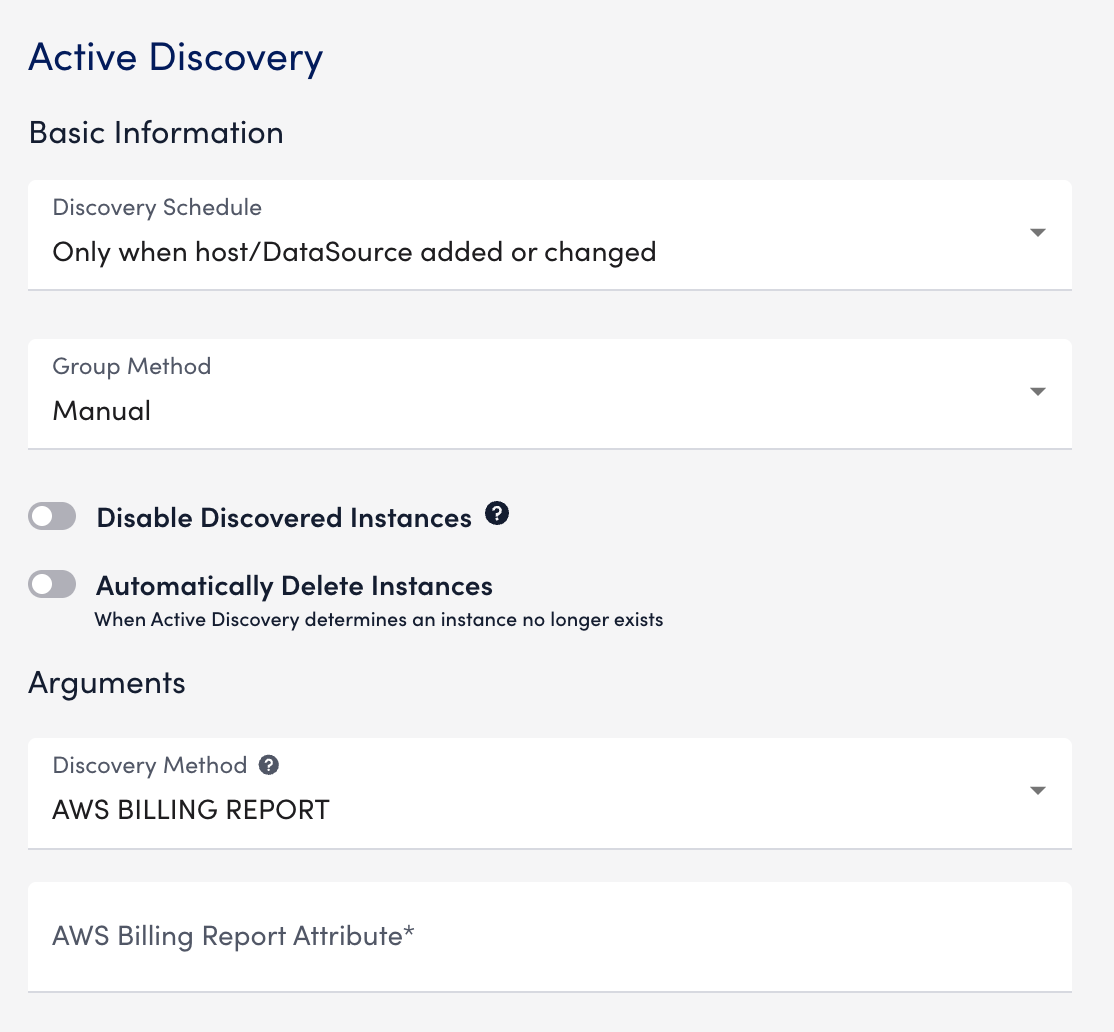
Important: LogicMonitor discovers the user-defined tags from the Cost and Usage Report.
- Select Save.
LogicMonitor discovers all values and monitors costs for the specified key.
Manually Adding Instances to the Cost by Tag DataSource
- In LogicMonitor, navigate to the Resource Tree.
- Select the AWS account where you want to add the instance.
- Select the account-level resource.
- Select
 More, then select Add Monitored Instance.
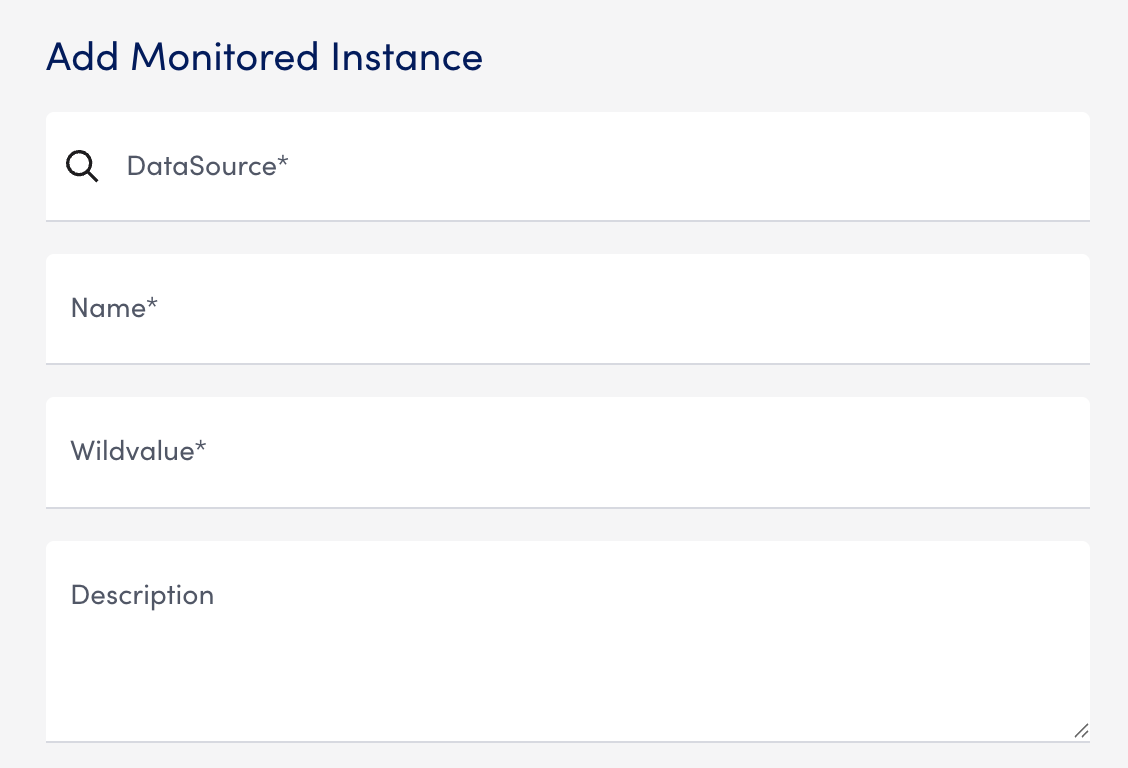
The Add Monitored Instance settings panel is displayed.
Note: If you currently have a Cost by Tag DataSource with instances, you can add instances from the Instances tab. - In the Add Monitored Instance settings panel, enter the following information:
- In the DataSource field, enter “Cost by Tag” and select a suitable value.
- In the Name field, enter the display name for the instance in the Resource Tree.
- In the Wildvalue field, enter the tag you want to track. Prefix the value with “
user“.
For example, enteruser:OSto discover operating system tags. - (Optional) In the Description field, enter a description for the instance.
- In the DataSource field, enter “Cost by Tag” and select a suitable value.
Important: LogicMonitor discovers the user-defined tags from the Cost and Usage Report.
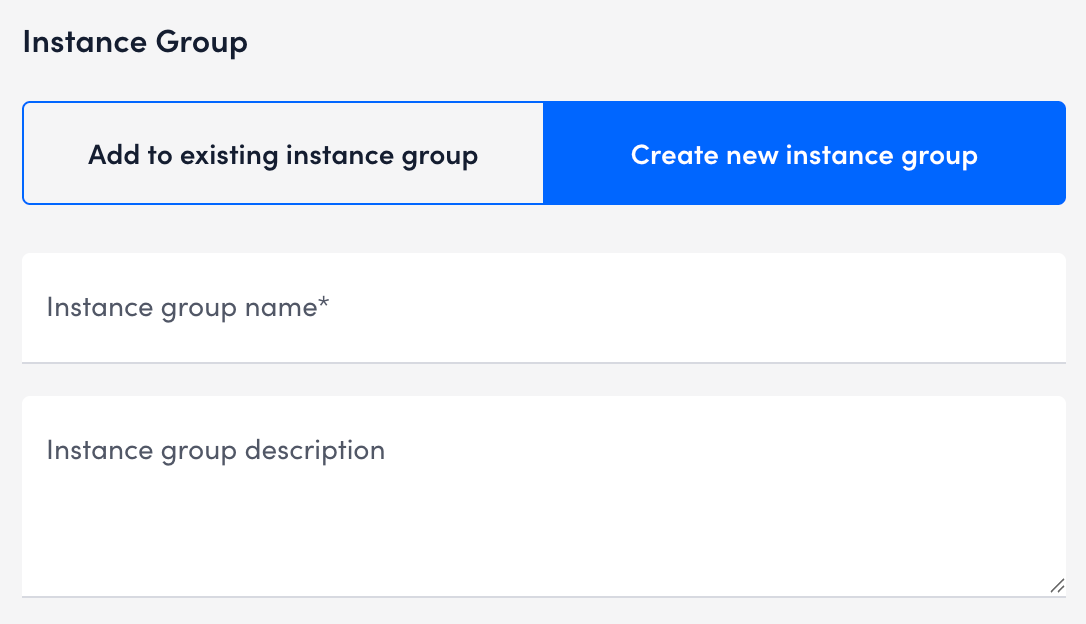
- In the Instance Group section, select one of the following:
- Add to existing instance group — Enter the instance group name in the Instance Group field.
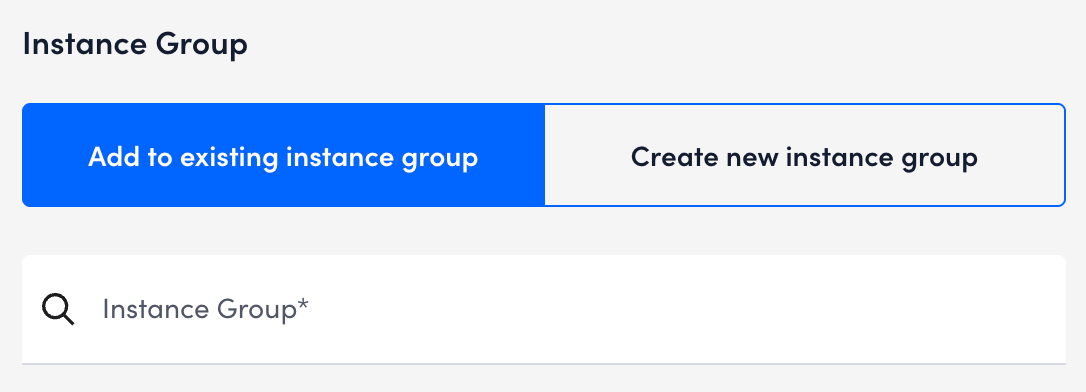
- Create new instance group— Enter an Instance group name and description for the new group.
- Add to existing instance group — Enter the instance group name in the Instance Group field.
- Select Save.
Depending on the selection, the instance is added to the existing or a new instance group under the instance is now added under the Cost by Tag DataSource in the Resource Tree. Repeat these steps to add more instances as needed.
