
Widget Creation
Last updated – 24 October, 2025
Add a new widget to your dashboard or clone an existing widget to reuse widget information, and then configure the following standard widget settings that are common across all or most widget types:
- Basic Information: These settings allow you to enter a name, description, and refresh frequency for the widget data.
- Widget Display Settings: You can choose a color scheme for the widget to display in on your dashboard.
Note: You can also add graphs to your dashboard as a widget from the Graphs tab. For more information, see Graphs Tab.
Adding a Widget
- Log in to LogicMonitor.
- In the navigation bar on the left side of the page, select Dashboards.
- Go to the dashboard you want to add a widget to. For more information, see Finding Dashboards and Dashboard Groups.
- On the Dashboards page, select one of the following options based on if you’re adding a widget to a new or existing dashboard:
- New dashboard: Select + Add Widget in the middle of the page.
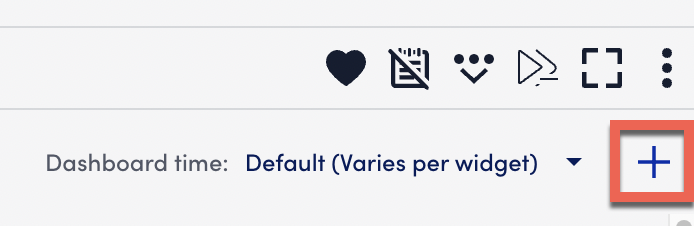
- Existing dashboard: Select the Add icon in the top right corner of the page.
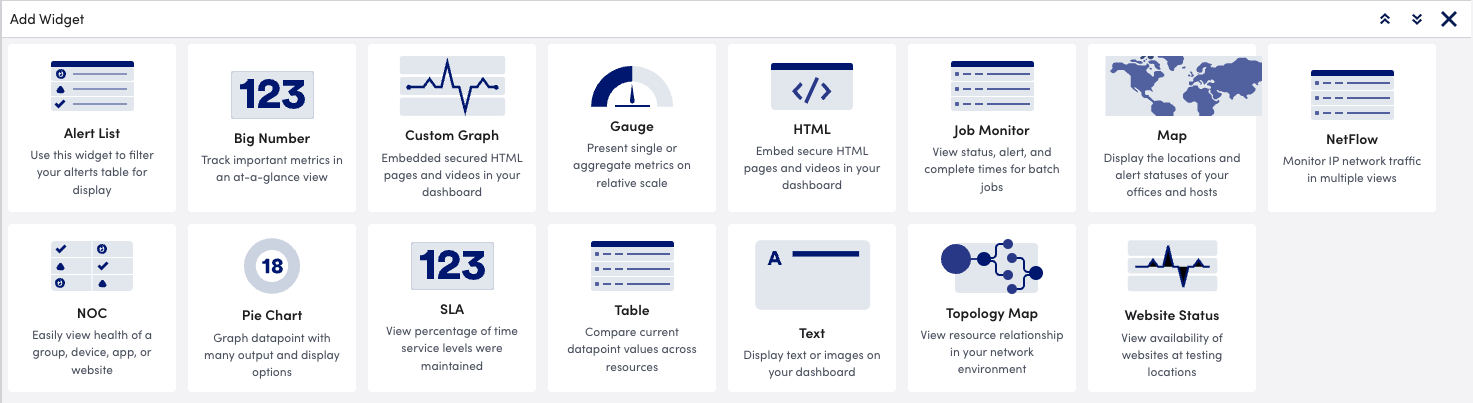
- From the Add Widget menu, select the type of widget you want to add. For more information, see Widget Types.
- Edit the widget form fields. For more information, see Configuring Standard Widget Settings.
Cloning a Widget
- Log in to LogicMonitor.
- In the navigation bar on the left side of the page, select Dashboards.
- Go to the dashboard you wan to add a widget to. For more information, see Finding Dashboards and Dashboard Groups.
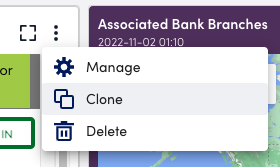
- In the top right corner of the widget, select the Overflow icon > Clone.
- (Optional) Modify the Add Widget form fields. For more information, see Configuring Standard Widget Settings.
Configuring Standard Widget Settings
- In the Name field, enter a name to display at the top of the widget.
Note: If the widget name exceeds more than 64 an ellipses displays. Widget names also cannot include the operators and comparison functions available in LogicMonitor’s datapoint expression syntax and names cannot contain commas (,), semicolons (;), or asterisks (*). For more information, see Complex Datapoints. Use tokens as widget names to make cloning dashboards and updating widget information for the cloned dashboards easier. For more information, see Dashboard Tokens and Tokens in Widgets.
- (Optional) In the Description field, enter a description for the widget to reference later in the Edit Widget form.
- (Optional) In the Refresh Frequency dropdown menu, select an interval for the widget data to update on (defaulted to 3 minutes).
- Configure settings specific to the type of widget you’re creating. For more information, see the specific widget you’re configuring under Widget Types.
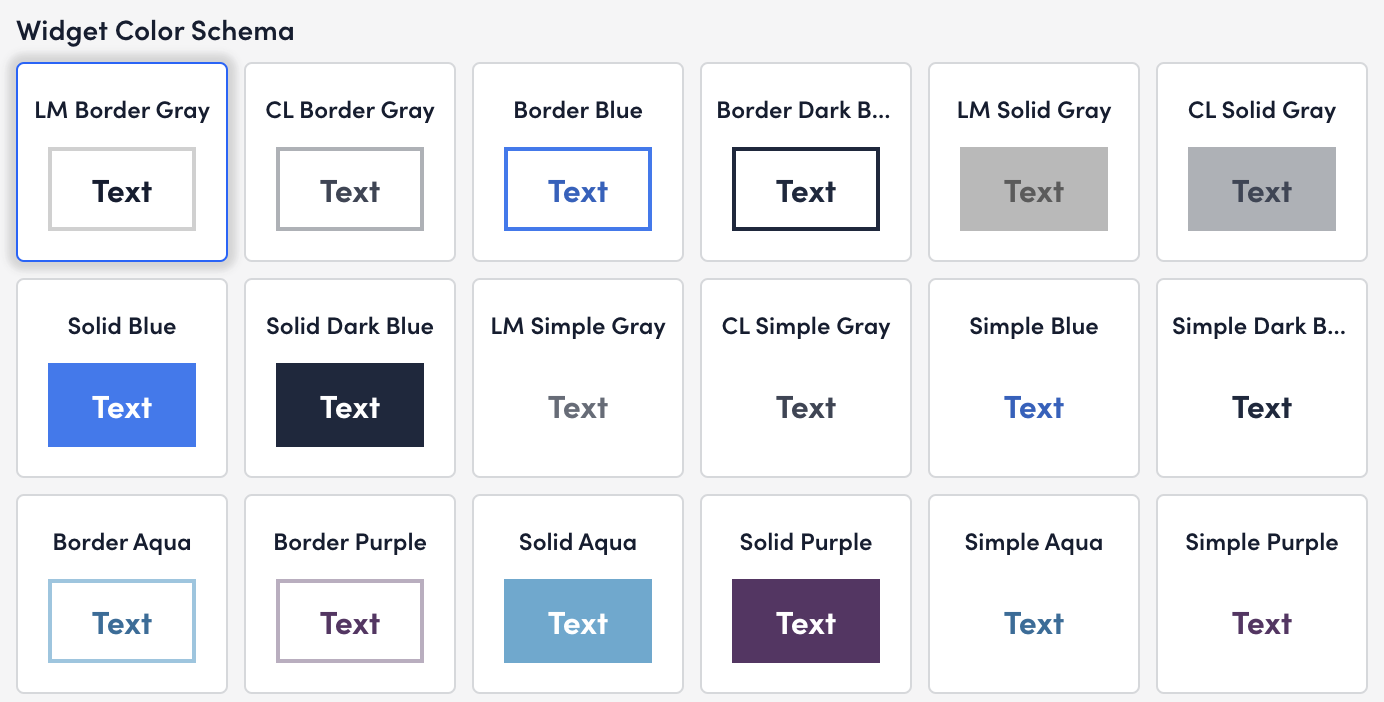
- (Optional) In the Widget Color Schema settings, select a color scheme for the widget to display in on your dashboard (defaulted to LM Border Gray).
- (Optional) Select Preview to preview your changes before saving them.
Warning: Changes cannot be undone once they are saved. Preview your changes before saving to ensure there are not widget errors.
- Select Save.
The widget is saved to your dashboard.
