
Running a NetScan
Last updated – 24 November, 2025
You can run a NetScan either at scheduled time intervals or manually on demand.
Requirements for Running a NetScan
- To run a NetScan, you need to create a Netscan.
For more information, see Creating a Basic NetScan, Creating an Advanced NetScan.
Scheduling a Recurring NetScan
- In LogicMonitor, navigate to Settings > NetScans > All NetScans.
- Select the required NetScan.
- On the NetScans page, select the NetScans tab.
- On the NetScan tab, select the required NetScan.
A panel is displayed with Info and Version History tabs.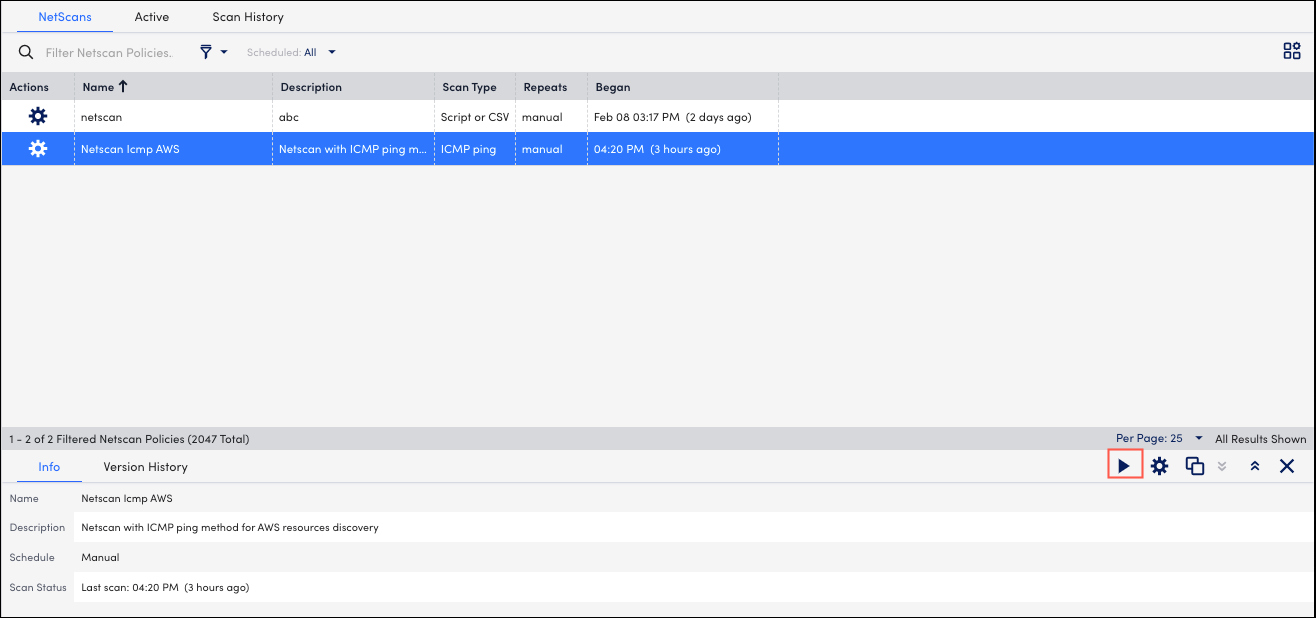
- In the right corner, select Manage NetScans.
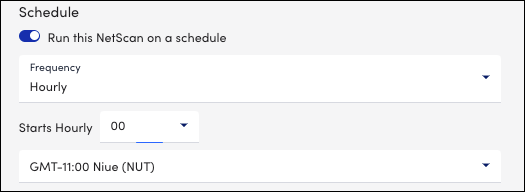
- On the Manage NetScans page, enable Run this NetScan on a schedule.
- In the Schedule section, enter the following details:
- Frequency – Select the required frequency from the drop-down list.
- Starts Hourly – Select the required time for running the scans from the drop-down list.
- Timezone – Select the required timezone.
- Select Save and Run.
Running a NetScan Manually
- In LogicMonitor, navigate to Settings > NetScans > All NetScans.
- Select the required NetScan.
- On the NetScans page, select the NetScans tab.
- On the NetScan tab, select the required NetScan.
A panel is displayed with Info and Version History tabs. - In the right corner, select Start/Stop NetScans.
The Scan Status bar displays the progress of the scan.


- To see if the manual Netscan is active, select the Active tab.

- To see the history of the scans, select the Scan History tab.
In the Scan History tab of your NetScan, you can view records of each iteration of the NetScan. The information includes the number of resources added as a result of the scan, the Collector on which the Netscan ran, the timestamp, and the user who performed the scan.

Note: If your discovered resources were added to the Unmonitored Group, you can find additional information about discovered resources can be found on the Resources page. See Unmonitored NetScan Resources.
