
Instance Groups
Last updated – 24 July, 2025
Overview
For every DataSource applied to a device, LogicMonitor attempts to discover instances to monitor. Some DataSources will only ever have one one instance to monitor per device (e.g. ping), while others may identify multiple instances (e.g. disks, server volumes, interfaces, etc.) to monitor per device
When multiple instances are identified by a DataSource (called a multi-instance DataSource), these instances can be grouped. Instance groups allow you to organize instances in ways that are meaningful to your environment.
In addition to providing logical organizational structures, instance groups, like device groups, are available for selection from the Resources tree. As independent entities, they support many of the same actions that other tree objects do, including the ability to:
- Tune static datapoint thresholds (using the Alert Tuning tab) for all member instances en masse (see Tuning Static Thresholds for Datapoints).
- Enable dynamic thresholds (using the Alert Tuning tab) for all member instances en masse (see Enabling Dynamic Thresholds for Datapoints).
- Put all member instances into SDT (using the SDT tab) en masse (see SDT Tab).
- View overview DataSource graphs (using the Graphs tab) for just those instances in the group (see Graphs tab).
- View alerts (using the Alerts tab) for just those instances in the group.
Instance groups can be created and populated manually or automatically. Automated group management is driven by the Active Discovery process configured for a DataSource.
Manual Management of Instance Groups
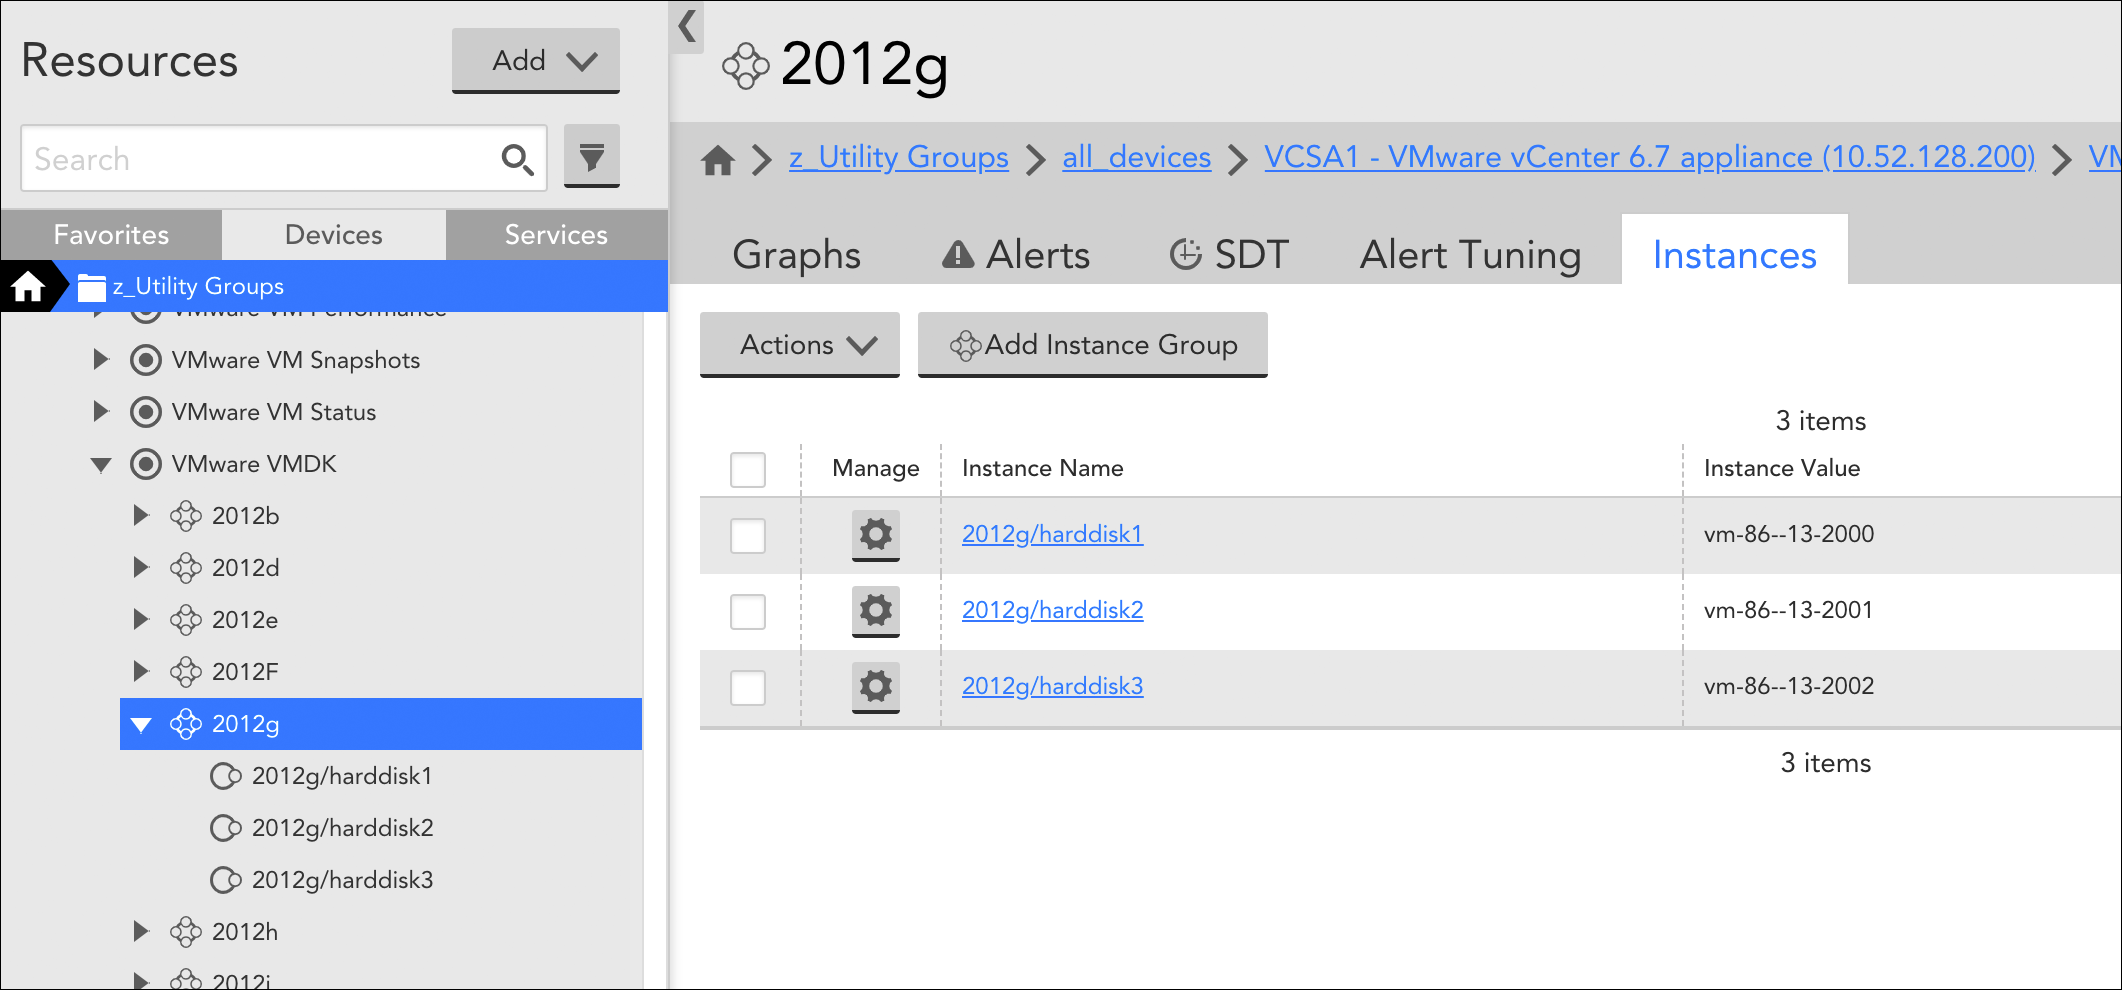
For multi-instance DataSources that do not have automated instance grouping enabled, instance groups can be manually created, populated, and edited from the Instances tab. The Instances tab displays when viewing a multi-instance DataSource from the Resources tree.
To create a new instance group, click the Add Instance Group button. Once created, an instance can be moved from the default “Ungrouped” group into the new group by either dragging and dropping it or placing a checkmark to its left in the instance table and selecting Actions | Move to Instance Group.
To edit the name or description of an instance group, or delete the group, click the down arrow located to the left of the group name, as shown next.
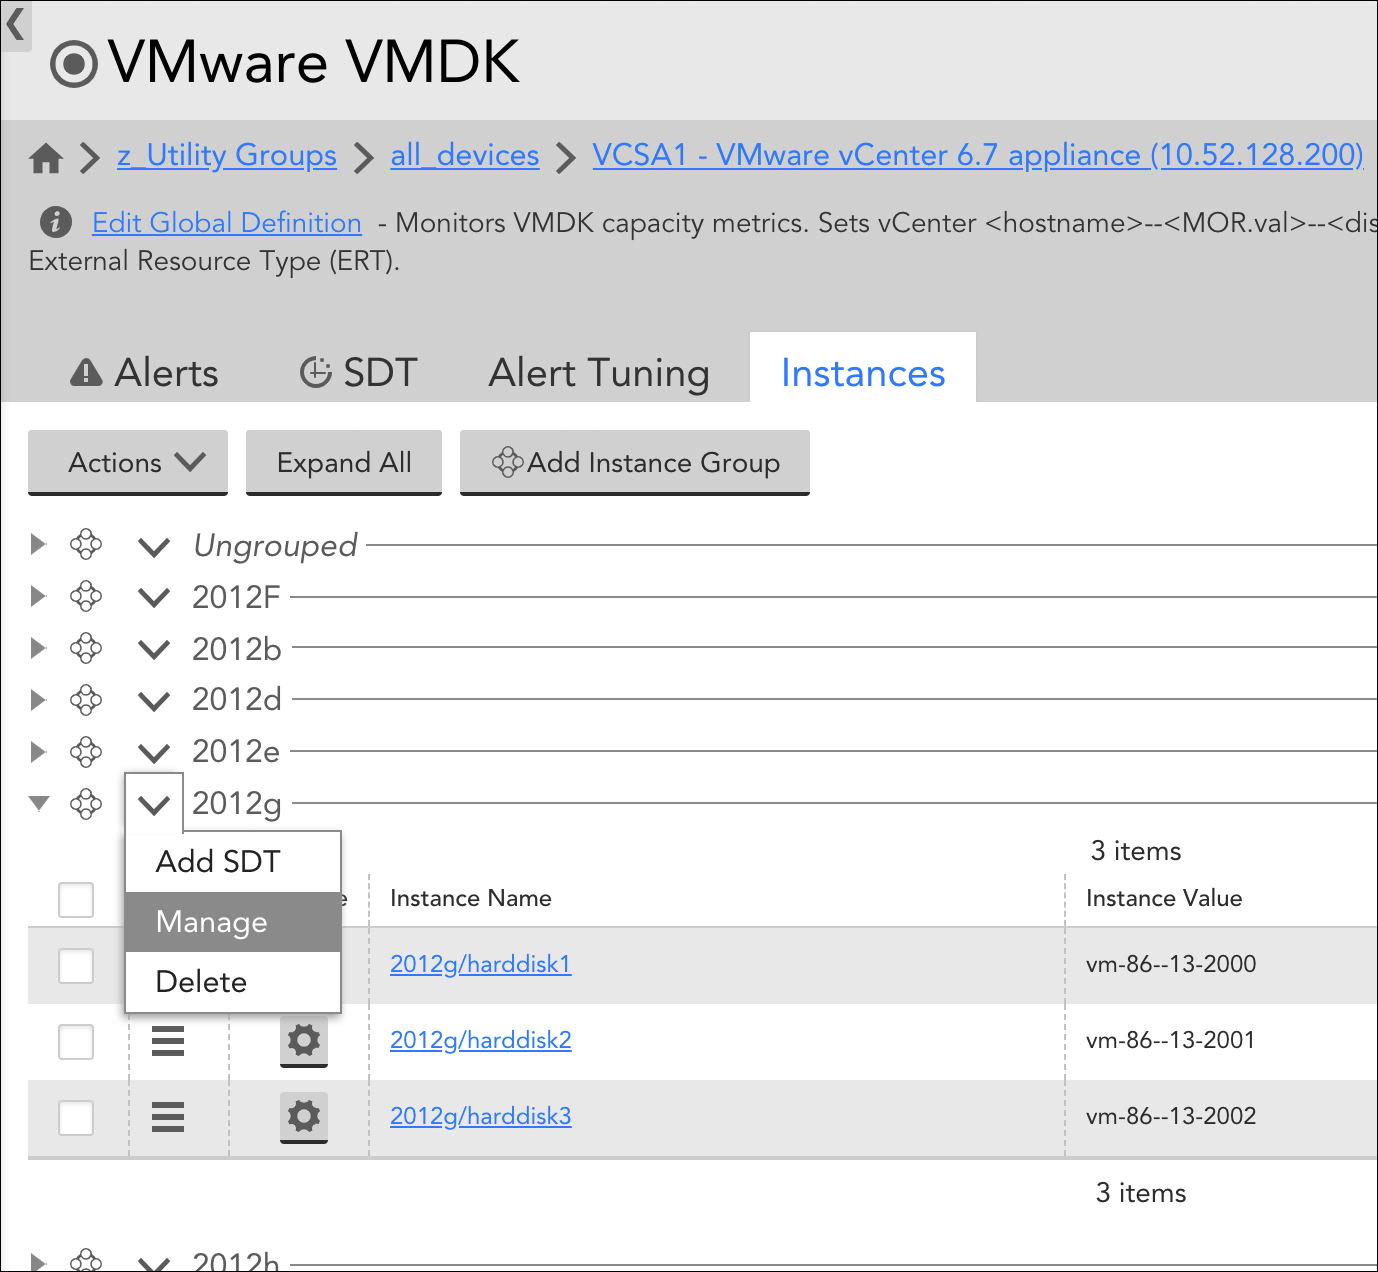
From the Instances tab of the parent multi-instance DataSource, groups that were manually created can be edited or deleted.
Automated Management of Instance Groups
As an alternative to manually grouping instances, you can allow LogicMonitor to automatically group instances according to shared attributes upon discovery. Automated grouping is a function of the Active Discovery process, which is configured from the DataSource definition. (For more information on Active Discovery, see Active Discovery).
Specifically, automated management of instance groups is established by selecting something other than “Manual” from the Group method field’s dropdown. In order for the Group method field to be available, the DataSource definition’s Multi-instance? and Enable Active Discovery options must be checked.
There are up to four automated grouping methods you can use to organize instances:
- NetScaler
- NetScalerServiceGroup
- Regular Expression
- Instance Level Property
Which methods you are presented with from the Group method field is dependent upon what is supported by the protocol (e.g. SNMP, WMI, etc.) being used to discover instances (as defined in the Discovery method field of the DataSource definition). Each automated grouping method is discussed next.
NetScaler
Used only for Citrix NetScalers, this grouping method automatically groups instances (i.e. services) according to the load balancing virtual IPs (VIPs) in which they are members.
NetScalerServiceGroup
Used only for Citrix NetScalers, this grouping method automatically groups instances (i.e. services) according to service group names.
Regular Expression
This method supports three parameters:
- useValue=”name”|”value”|”description”|”auto.instance_property_name”
- dynamicGroup=”a regex with capturing”
- groupName1=”regex1″ groupName2=”regex2″
As detailed in the following sections, these parameters exist to answer two basic questions:
- How should instances be organized and what should those resulting instance groups be called? (Determined via either the groupName or dynamicGroup parameter; these two parameters are mutually exclusive.)
- When evaluating the first question, which property of the instance should be used—either its name or value? (Determined via the useValue parameter.)
useValue (optional)
This parameter determines which instance property (name or value) will be evaluated. It is optional; if useValue is not specified, the instance name (also commonly referred to as “WILDALIAS”) will be used by default.
The following examples illustrate how the useValue parameter can be used in conjunction with either the dynamicGroup or groupName parameter to indicate that the instance’s value (also commonly referred to as “WILDVALUE”) should be evaluated, rather than its name.
useValue="value" dynamicGroup="\w+"useValue="value" Controllers="tray\d+controller." Batteries="tray\d+battery." CacheDIMMs="tray\d+dimm." Fans="tray\d+fan." PowerSupplies="tray\d+psu." SFPs="tray\d+sfp."dynamicGroup
If you want to dynamically extract group names from instance names or values, you can specify a regular expression with capturing (i.e. a portion of the regular expression that should be used as the group name, which will be the first capture group, defined by parentheses). For example, Linux hosts may have some set of physical block devices (e.g. sda, sdb, hdb, hdc, etc.), each with zero or more partitions. To group each partition (e.g. sda1, sda2, sda3, sdb2, sdc5) with its parent block device (sda, sdb, sdc) without requiring advanced knowledge of all possible block device names (and thus groups), you could use the following expression, which would return group name “sda” for sda1, sda2, and sda3; group name “sdc” for sdc5; and so on.
dynamicGroup="^(.d.)"Note: Use single quotes around regular expressions to avoid having to escape characters with “/”, as is required with some situations with double quotes:
dynamicGroup=’/w’
dynamicGroup=”//w”
groupName
You can assign instances to a predefined set of groups based on the name or value of the instances. The parameters are group name, followed by a regular expression. Any instance that matches the regular expression will become a member of the group. Instances can be members of more than one group if they match more than one regular expression.
For example, a Linux host may have physical disks sda, sdb, and sdc, along with Logical Volume Manager (LVM) disks dm0, dm1, and dm2. To auto-assign all LVM disks into group “LVM”, and all physical disks into group “physical”, you could use the following expression:
physical="sd.*" LVM="dm.*"The regular expression must match the entire instance in order for the instance to be assigned to that group. Thus, it is usually necessary to end in regex wildcards, as shown in the previous example (i.e. “.*”). Additionally, predefined group names cannot contain spaces.
Instance Level Property
If you enter an Instance Level Property name (prepended with “auto.”), into the Parameters field, an instance group for each unique value of that ILP will be created. For example, if you wanted to group all instances that share a common port speed, you would enter the following:
auto.port_speedThis would result in unique groups being created for instances with port speeds of 100Mbps, 1Gbps, 10Gbps, and so on. Note that ILPs are case sensitive in this field. For more information on instance properties, see Resource and Instance Properties.
“Unmonitored” Instance Groups
If monitoring is disabled for an instance (or if newly discovered instances are initially set to be disabled per Active Discovery configurations), LogicMonitor will automatically create an instance group called “Unmonitored” and populate it with the unmonitored instance(s). You can disable monitoring for other instances by dragging them into this group. Conversely, you can re-enable monitoring for an instance by dragging it out of this group and into an active instance group. For more information on disabling monitoring, see Disabling DataSources.
