
Modules Management
Last updated – 17 March, 2026
LogicMonitor lets you manage modules in My Module Toolbox directly in your portal to keep your modules up-to-date. Managing your modules involves the following:
- Installing module updates—An update is a new version of a module. Installing an update overwrites an existing installed version. When you install your updated module, LogicMonitor lets you preserve certain values of the modules you have customized, enabling the values to persist after updating the module. You can view all updates in a side-by-side data comparison view prior to upgrading to view what values have changed between versions.
Recommendation: Install the most up-to-date module to take advantage of enhancements offered in the latest versions.
- Editing an existing module—You can edit modules using the module editor accessible from My Module Toolbox. You can edit, test, and save module information such as AppliesTo and Collector scripting.
- Reassigning the origin for a module—If there are updates available in Exchange for a module you have cloned and made changes to in My Module Toolbox, you can reassign the original lineage of the cloned module. This allows you to update the cloned module that you have configured for a specific purpose and apply the latest updates from Exchange to it.
- Deleting a module—You can permanently delete a module you no longer need from My Module Toolbox.
- Exporting a module—You can export a module’s configuration from your portal in JSON format. This allows you to edit the module offline or maintain an offline backup.
- Importing a module—You can import the JSON or XML file for a module directly to your portal.
When you import the file, LogicMonitor detects duplicate modules that are currently installed (for example, an installed module has the same configuration as the module you are attempting to import), LogicMonitor allows you to view the currently installed module and make modifications accordingly. LogicMonitor also finds potential conflicts (for example, an installed module has the same name as the imported module, but a different configuration) based on the XML or JSON file and provides you a side-by-side data comparison to resolve the conflicts or overwrite the currently installed module. - Reverting modules origin—You can revert to previously committed versions of a module. LogicMonitor allows you to toggle between all previous versions of the module before finalizing your reversion.
- Viewing Version Difference for Modules—You view differences between previously committed versions of a module. LogicMonitor allows you to toggle between all previous versions of the module.
- Cloning a module—You can clone any module accessible from My Module Toolbox.
- Editing LogicModules Tags—You can edit tags and preserve them when updating LogicModules.
Module Preservation Options
When you install a module update, you can preserve certain values of the modules you have customized. The following table displays the options you can preserve:
| Preservation Option | Description |
| AppliesTo | Preserves the AppliesTo field |
| Active Discovery Filters | Preserves Active Discovery filters |
| Collection Interval | Preserves the collection interval |
| Discovery Interval | Preserves the Active Discovery interval |
| DisplayName | Preserves the DisplayName (also known as, “Resource Label”) of the LogicModule |
| Group | Preserves the Group under which the LogicModule is located |
| Alert Thresholds | Preserves alert thresholds on all datapoints. This includes trigger interval, clear interval, no data alert settings, custom message, and subject. |
| Tags | Preserves the tags associate with that LogicModule. |
Requirements for Managing a Module
To perform all management actions for a module, you need a user with a role that has “View” and “Manage” for the following permissions:
- Exchange
- My Module Toolbox (LogicModules)
For more information, see Users and Roles.
To import a module to your portal, the module’s configuration must be the following file formats:
- JSON
- XML
Installing a Module Update
- In LogicMonitor navigate to Modules > My Module Toolbox > and select Update from the Status column for the module you want to update.
A viewer displays a side-by-side data comparison of the currently installed version and the version you are upgrading to along with a Preservations panel. - To preserve your changes for specific settings between module versions, toggle on the switch that applies to the setting you want to preserve using the switches in the Preservations panel.
Any values you choose to preserve are displayed in the data comparison viewer.
For more information, see Module Preservation Options. - To display a third data comparison of the updated module based on any preservations, toggle on the Display three panel view switch.
A third panel displays the final, updated module configuration including any preservations. - Select Final Review.
- Select Save to install the update.
Alternatively, you can choose to skip the install by selecting Skip Update.
The updated module installs in My Module Toolbox with an installed status icon. In addition, you can update a module from the module’s details panel. For more information, see Modules Overview.
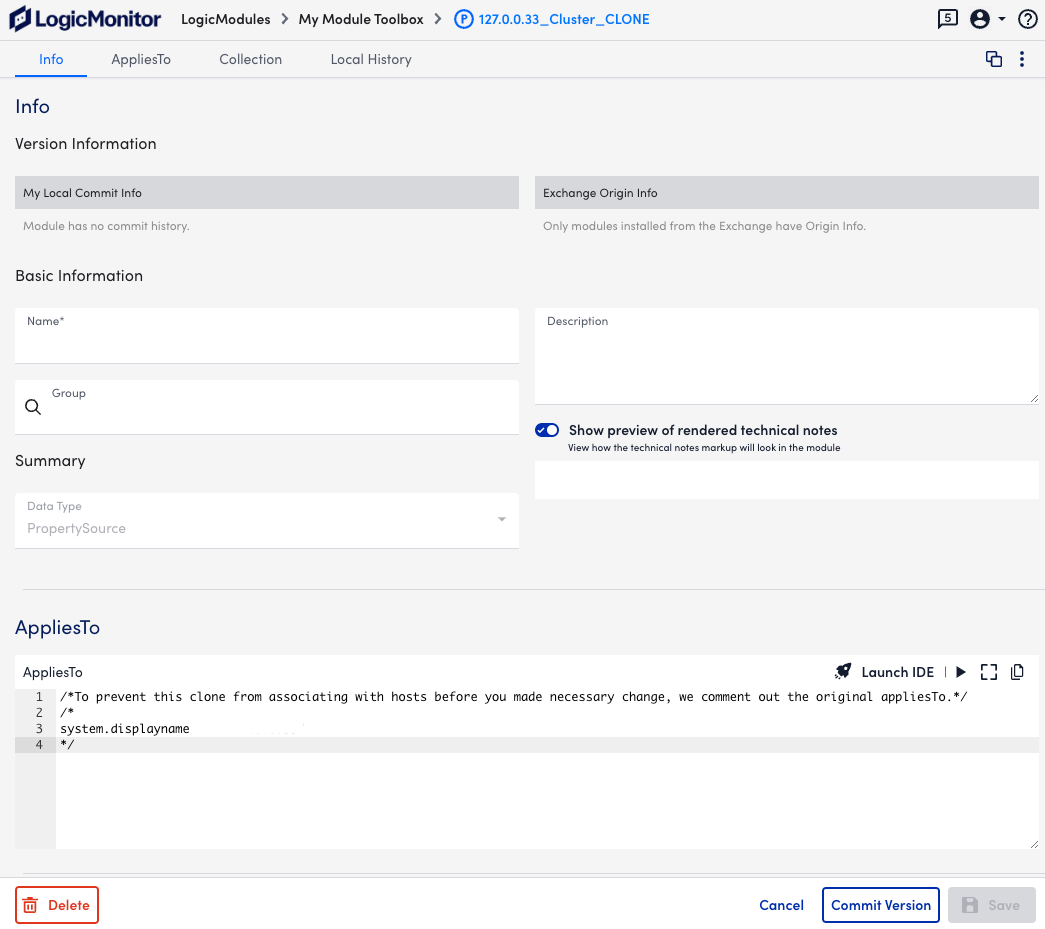
Editing a Module
- In the LogicMonitor, navigate to Modules > My Module Toolbox.
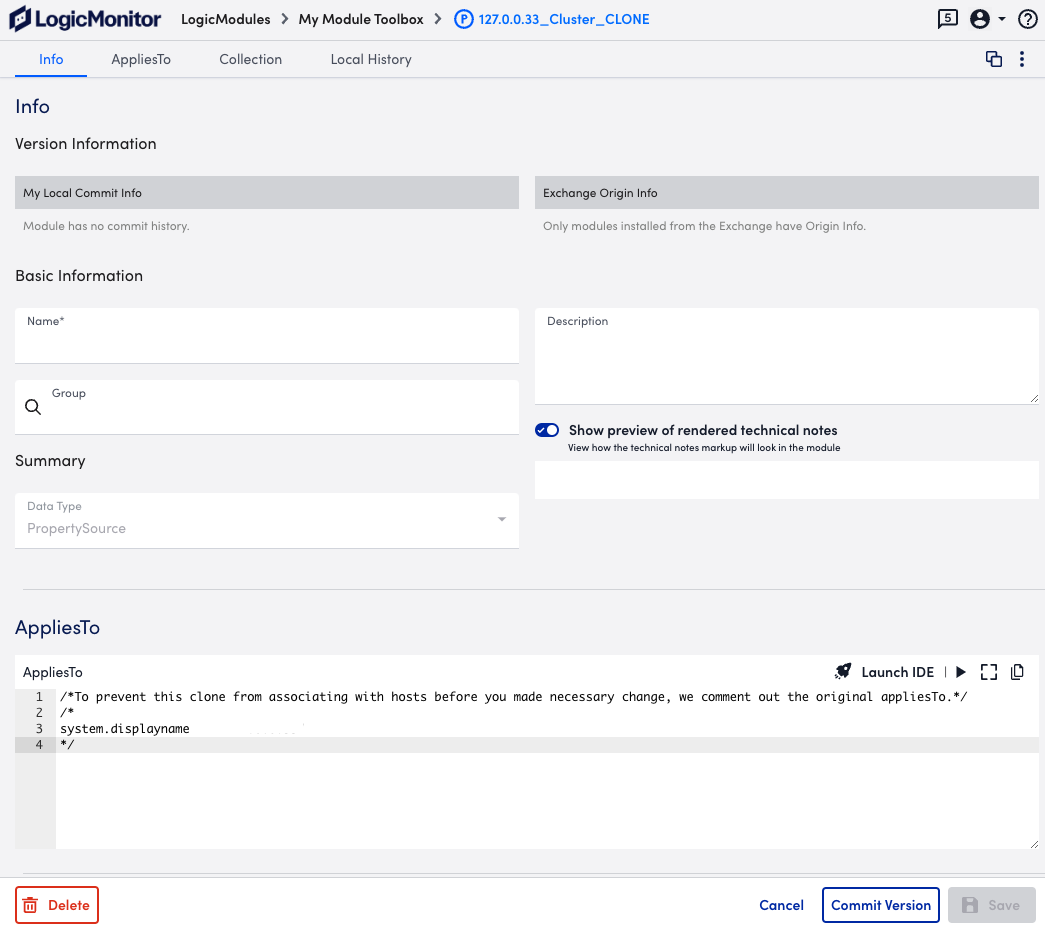
- Select the module you want to edit, then from the details panel, select Edit.
- Make your edits in the module editor. For more information, see the following documentation:
- When finished editing, select Commit Version.
- In the Commit a Version modal, enter in your changes in the Version Note field.
You must add information into the Version Note filed before you can confirm your edits. - To confirm your edits, select Commit Version again.
The module edit is saved.
Reassigning the Origin for a Module
- Navigate to Modules > My Module Toolbox.
- Select the module you want to export, and then select Edit.
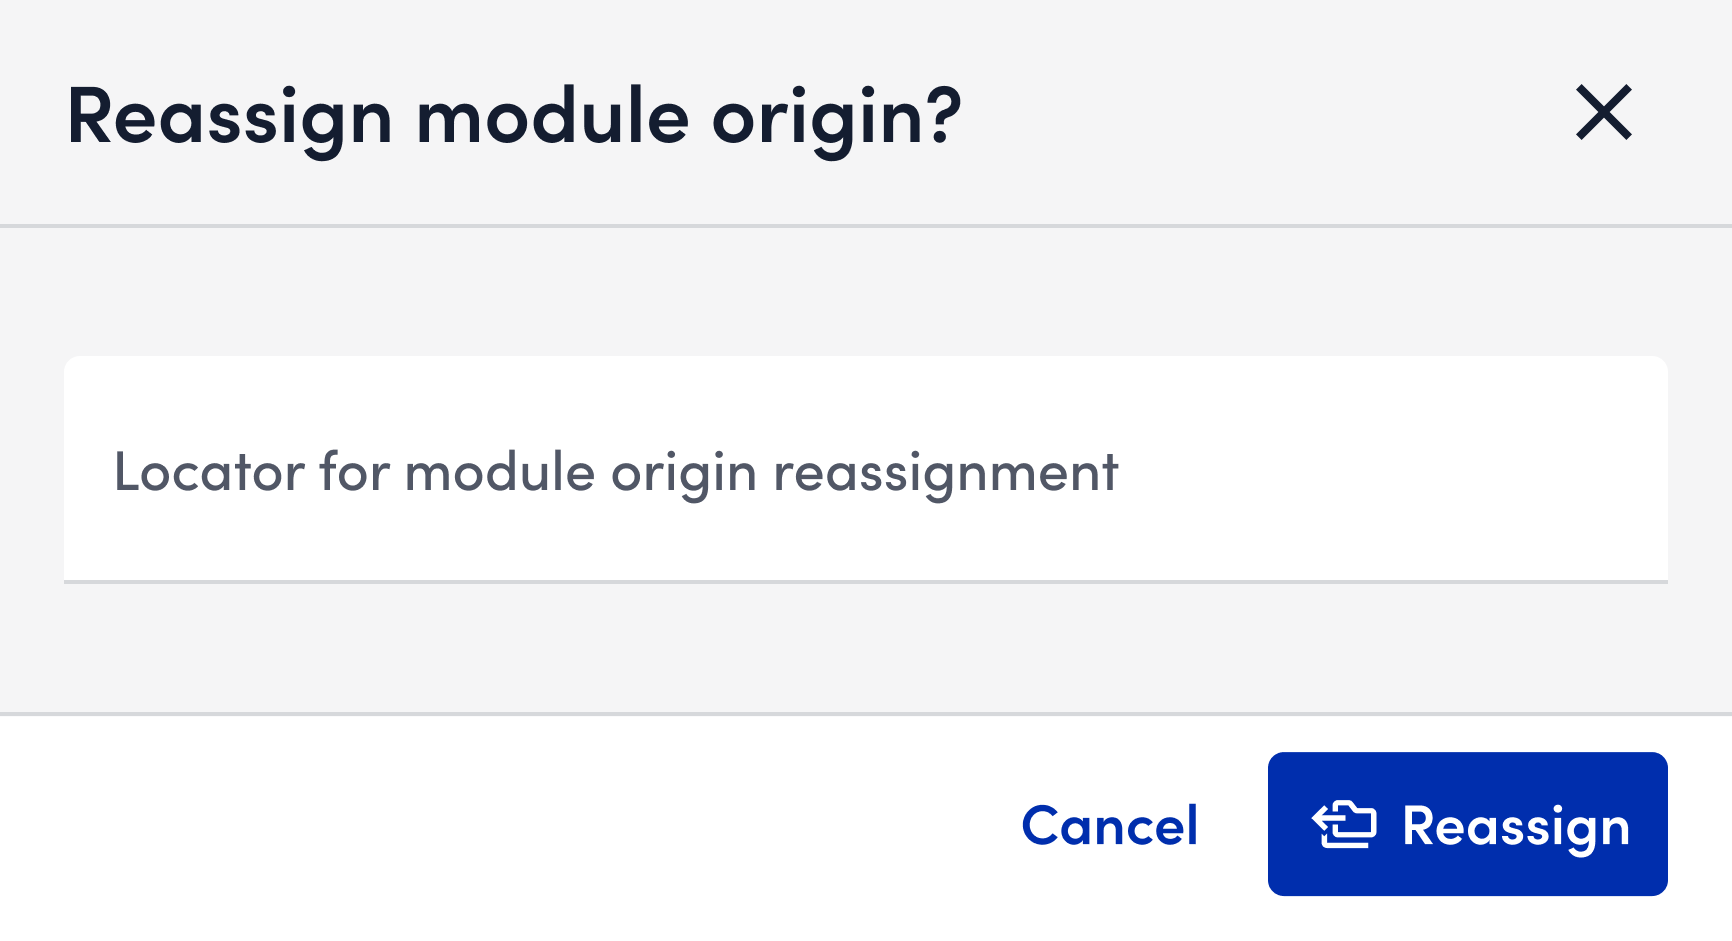
- From the Options menu of the module, select “Reassign Module Origin”.
- In Reassign module origin?, enter the locator of the module origin you want to reassign the module to.
- To test the module origin reassignment, select Test.
Details about the module’s origin reassignment are displayed.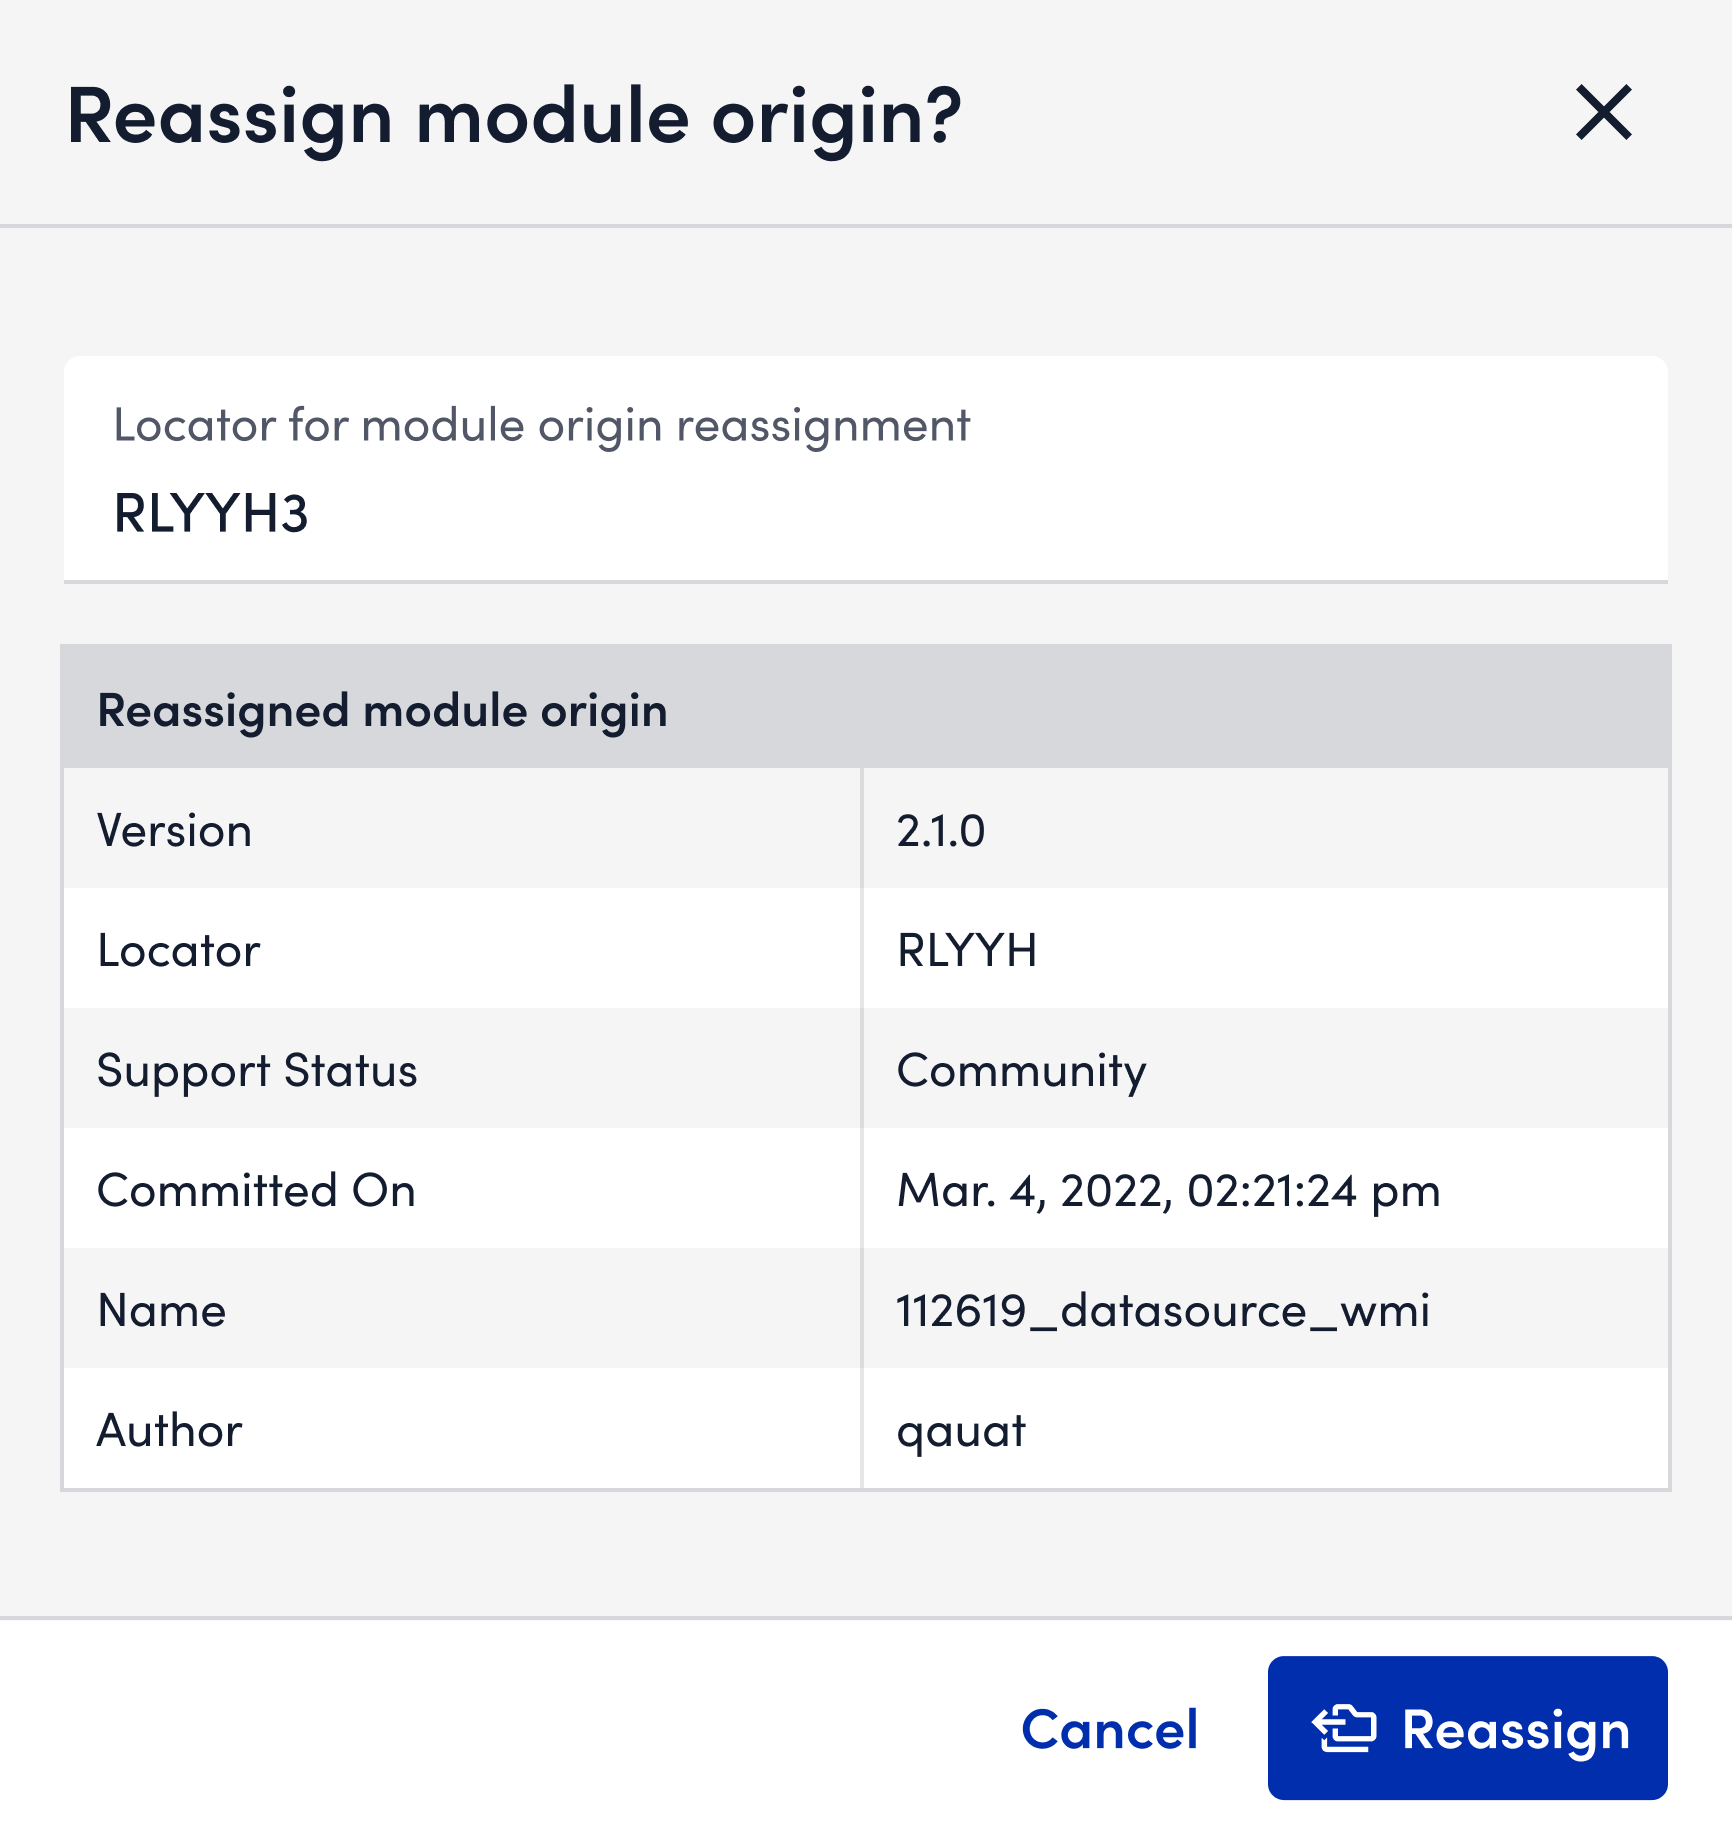
- To reassign the origin of the module, select Reassign.
The module is reassigned and a success message is displayed.
Deleting a Module
- From the LogicMonitor navigation menu, select Modules.
- In My Module Toolbox, select the module you want to delete.
- In the module editor pane at the bottom of the page, select the Delete icon.
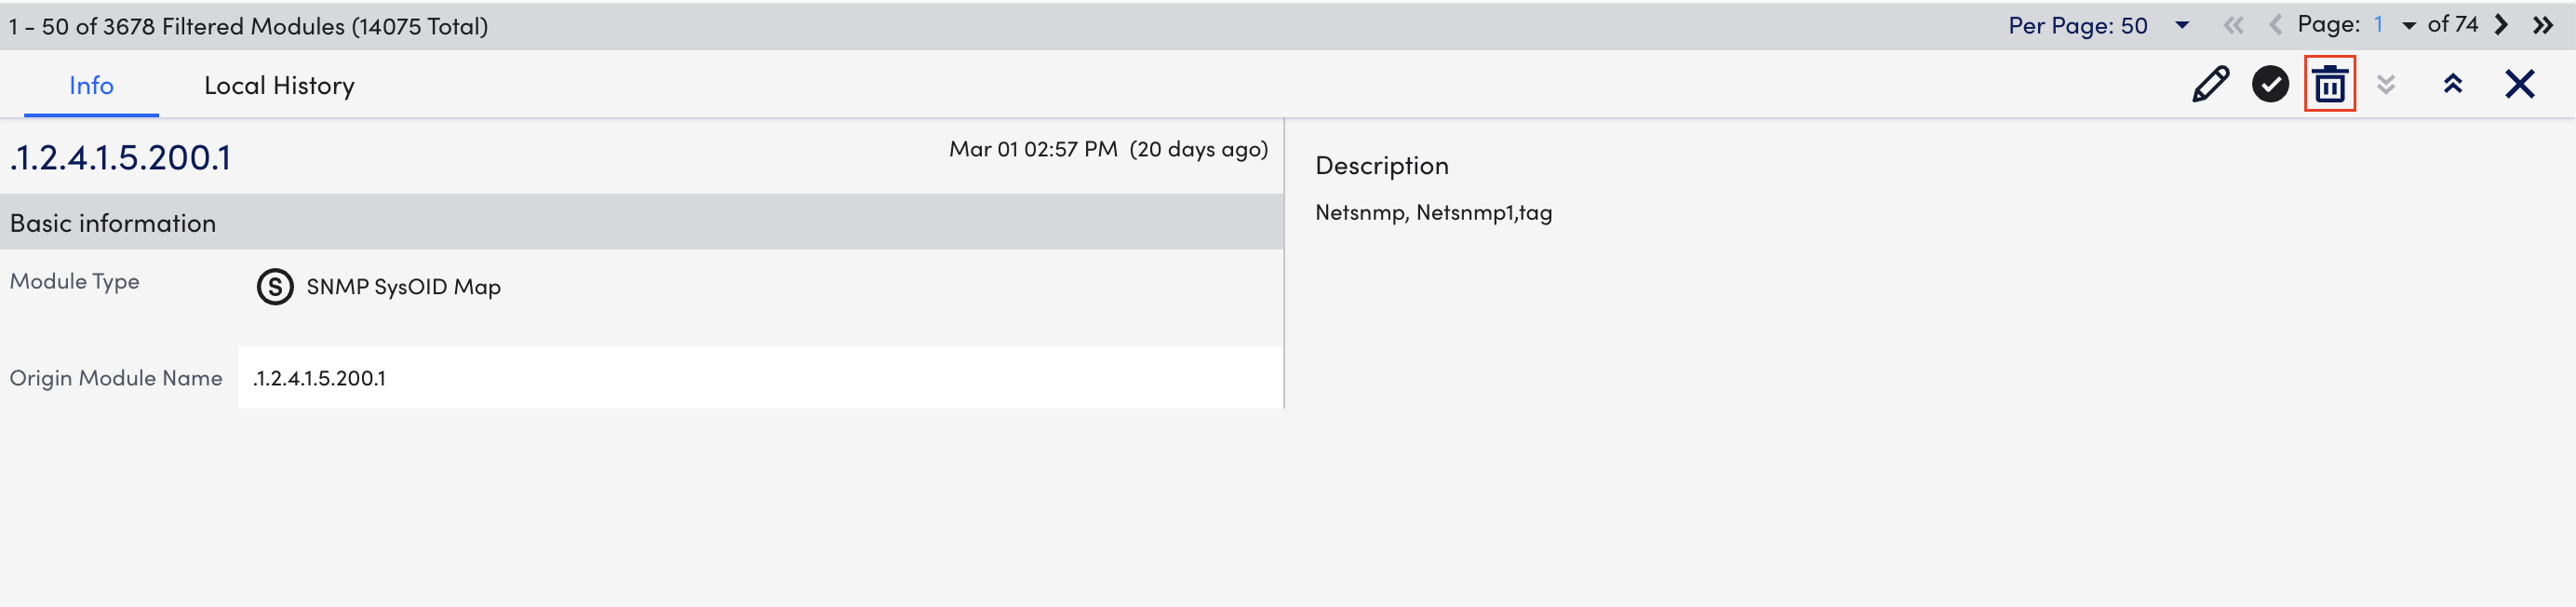
- From Delete?, select Delete.
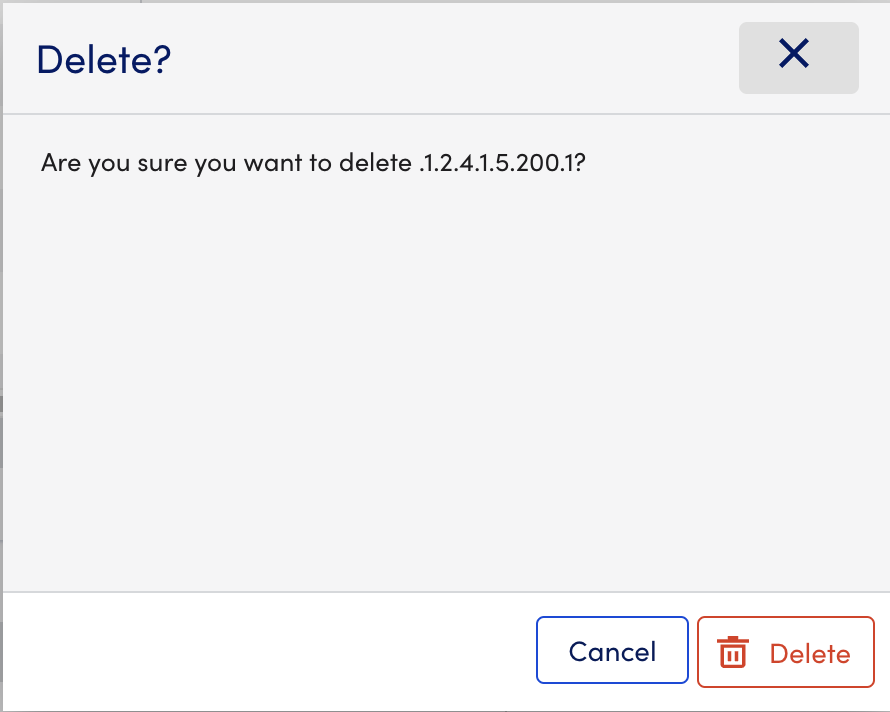
The module is permanently deleted from My Module Toolbox.
Exporting a Module
- Navigate to Modules > My Module Toolbox.
- Select the module you want to export, and then select Edit
 .
.
- From the Options menu
 of the module, select “Export”.
The module exports in JSON file format.
Importing a Module
- Navigate to Modules > My Module Toolbox.
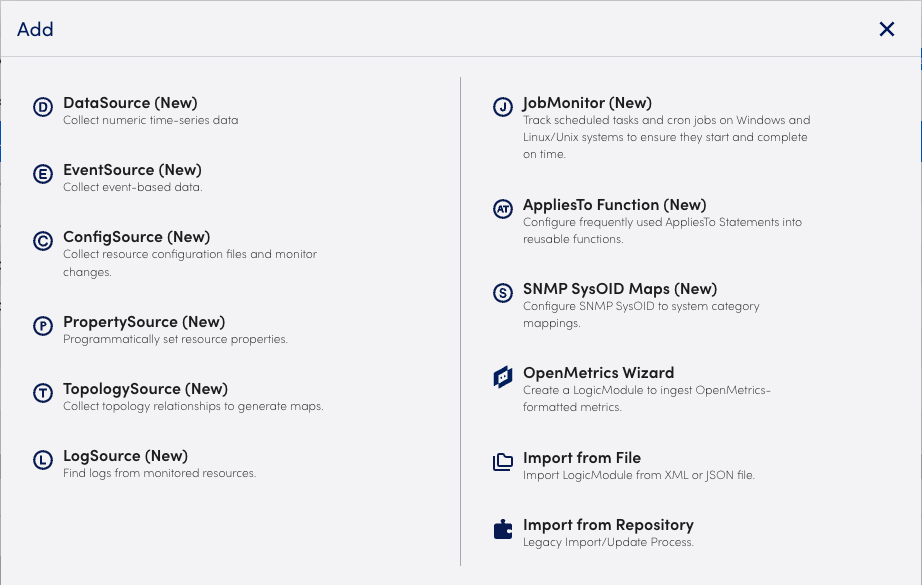
- Select Add
 .
. - Select Import from File.
- From Import from File, select Browse to choose a file.
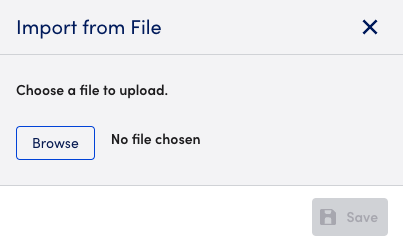
- Select Save.
The module is imported to your portal and displays a message indicating success.
If a duplicate module or a conflict is found, LogicMonitor displays a message indicating the issue.
Viewing Version Differences for Modules
- Navigate to Modules > My Module Toolbox.
- Select the module you want to revert, and then select Edit .
- Select View Version Differences.
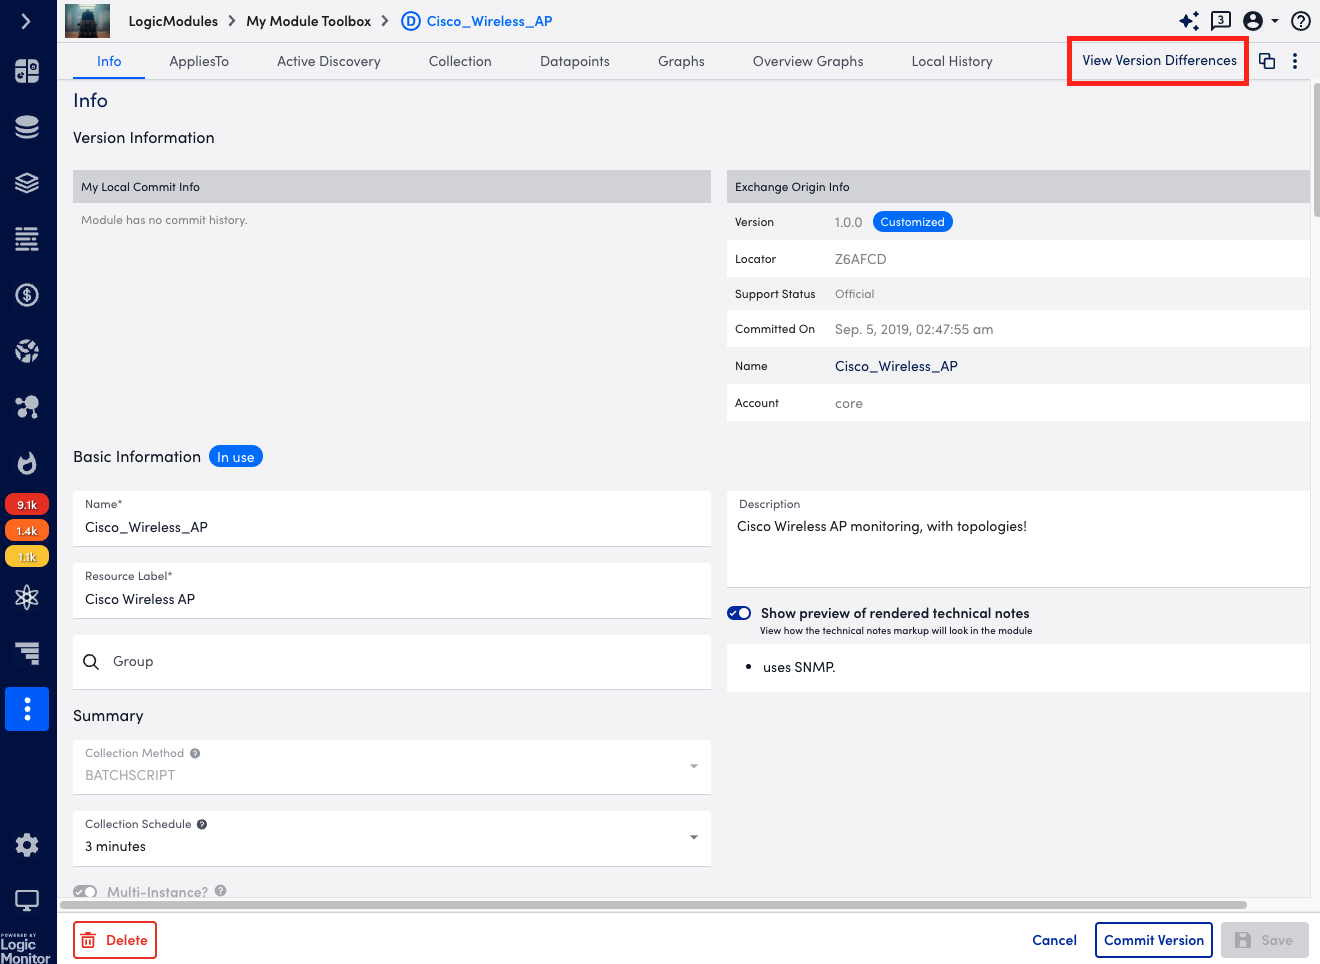 You can toggle between previous versions of a committed module and compare it with your current version.
 - From the version menu, select a version to compare with the current version.
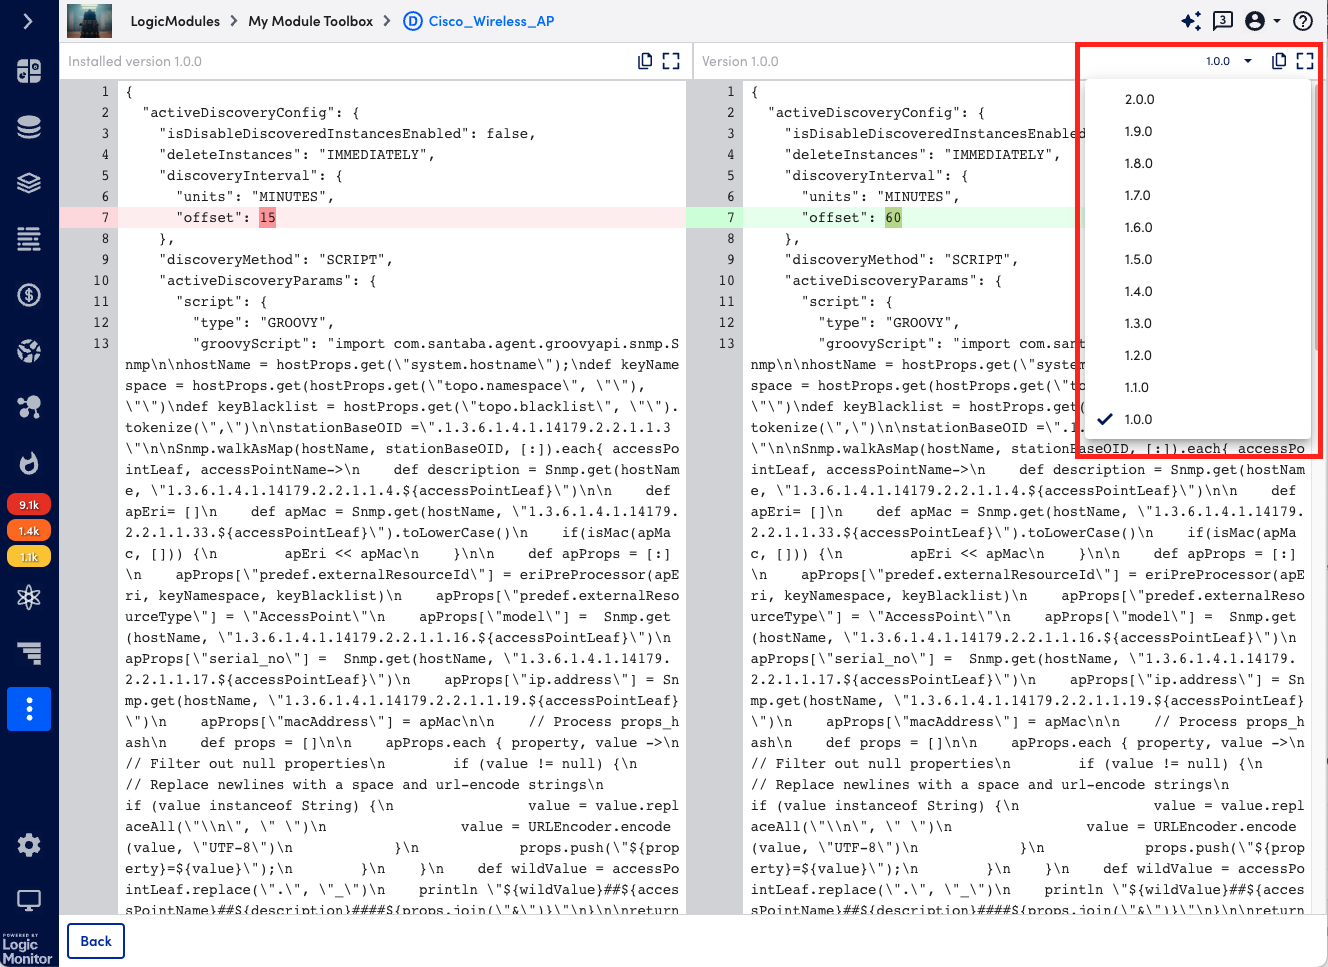
- To return back to the module editor after viewing version differences, select back.
Reverting to a Earlier Version of a Committed Module
- Navigate to Modules > My Module Toolbox.
- Select the module you want to revert, and then select Edit .
- From the Options menu of the module, select “Revert Module.”
- From the version menu, select a version to compare with the current version.
You can toggle between previous versions to compare with your current version before deciding which one to revert to. - Select View Module Changes.
A confirmation page will highlight changes being made when you revert to the earlier module version you selected. - Select Revert Module to revert your committed module to the previous version you selected.
- Select Commit Version to confirm and complete the revert.
Cloning a Module
- Navigate to Modules > My Module Toolbox.
- Select the module you want to clone, and then select Edit.
- Select
 Clone, to clone module.
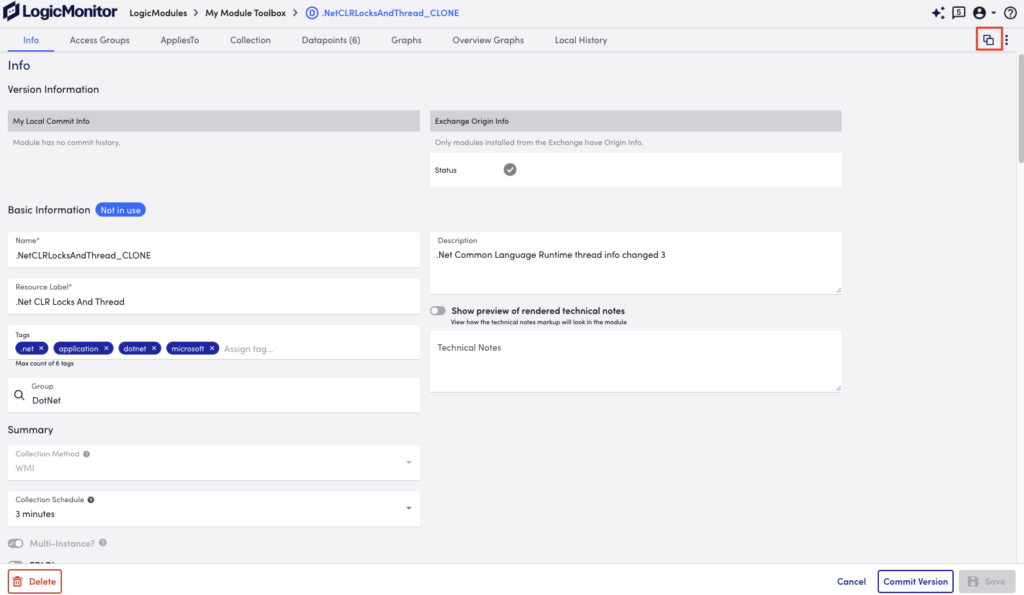
- In the Assign Access Group modal, do the following:
- Select Add Group.
- Enter the name of the access group or select from the Access Group field.
If an access group with tenancy is selected, the AppliesTo field in module is auto-populated with the tenant information (system.tenant.identifier). You can only map multiple access groups if they share the same tenant. You cannot map access groups with different tenants. If the access group has no tenant, the module applies to all tenants. For more information on tenant, see Tenant Identifier Property Name.
Note: You can enable a user to map and unmap Modules with access groups using the toggle Map and unmap Modules to Access Groups. For more information, see Modules Role Permissions. - Select Apply.
You can assign a maximum of five access groups. - Select Clone Module.
Note: When a module is cloned, the clone is automatically saved as is.
Editing a Module Tag
- In LogicMonitor, navigate to Modules > My Module Toolbox.
- Select the module you want to edit the tags for, and then select
 Edit.
Edit. - Navigate to Basic Information > Tags.
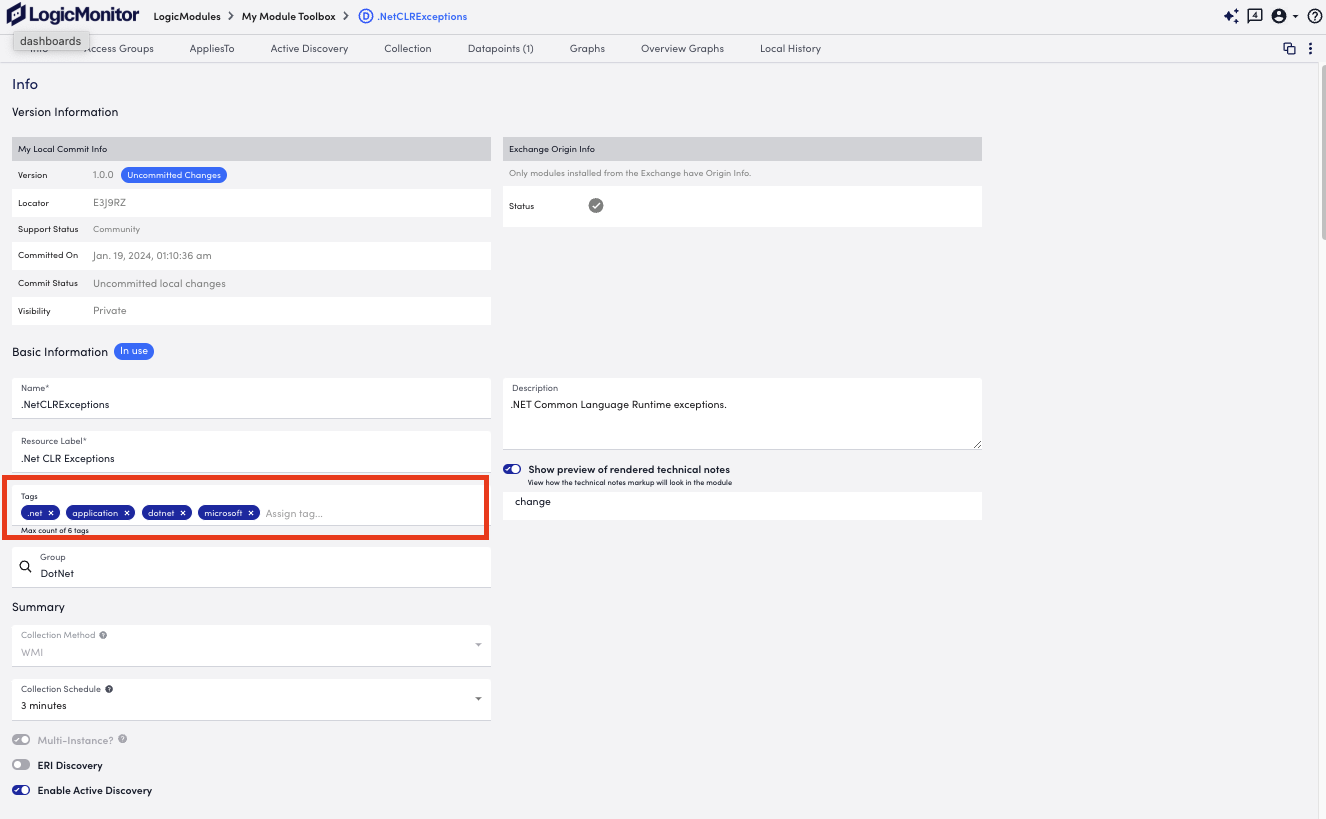
- To remove a tag, select the X to the right of the tag’s name.

- To add a tag, select the tag field and start typing. Relevant tag options will be auto-populated.
- Select Enter to create the tag.
- Select Save to save any changes made to tags.
