
Disclaimer: This content applies to the legacy UI and is no longer maintained. It will be removed at a future time. For up-to-date content, see Instance Tab. At the time of removal, you will automatically be redirected to the up-to-date content.
Instances Tab
Last updated - 25 July, 2025
Overview
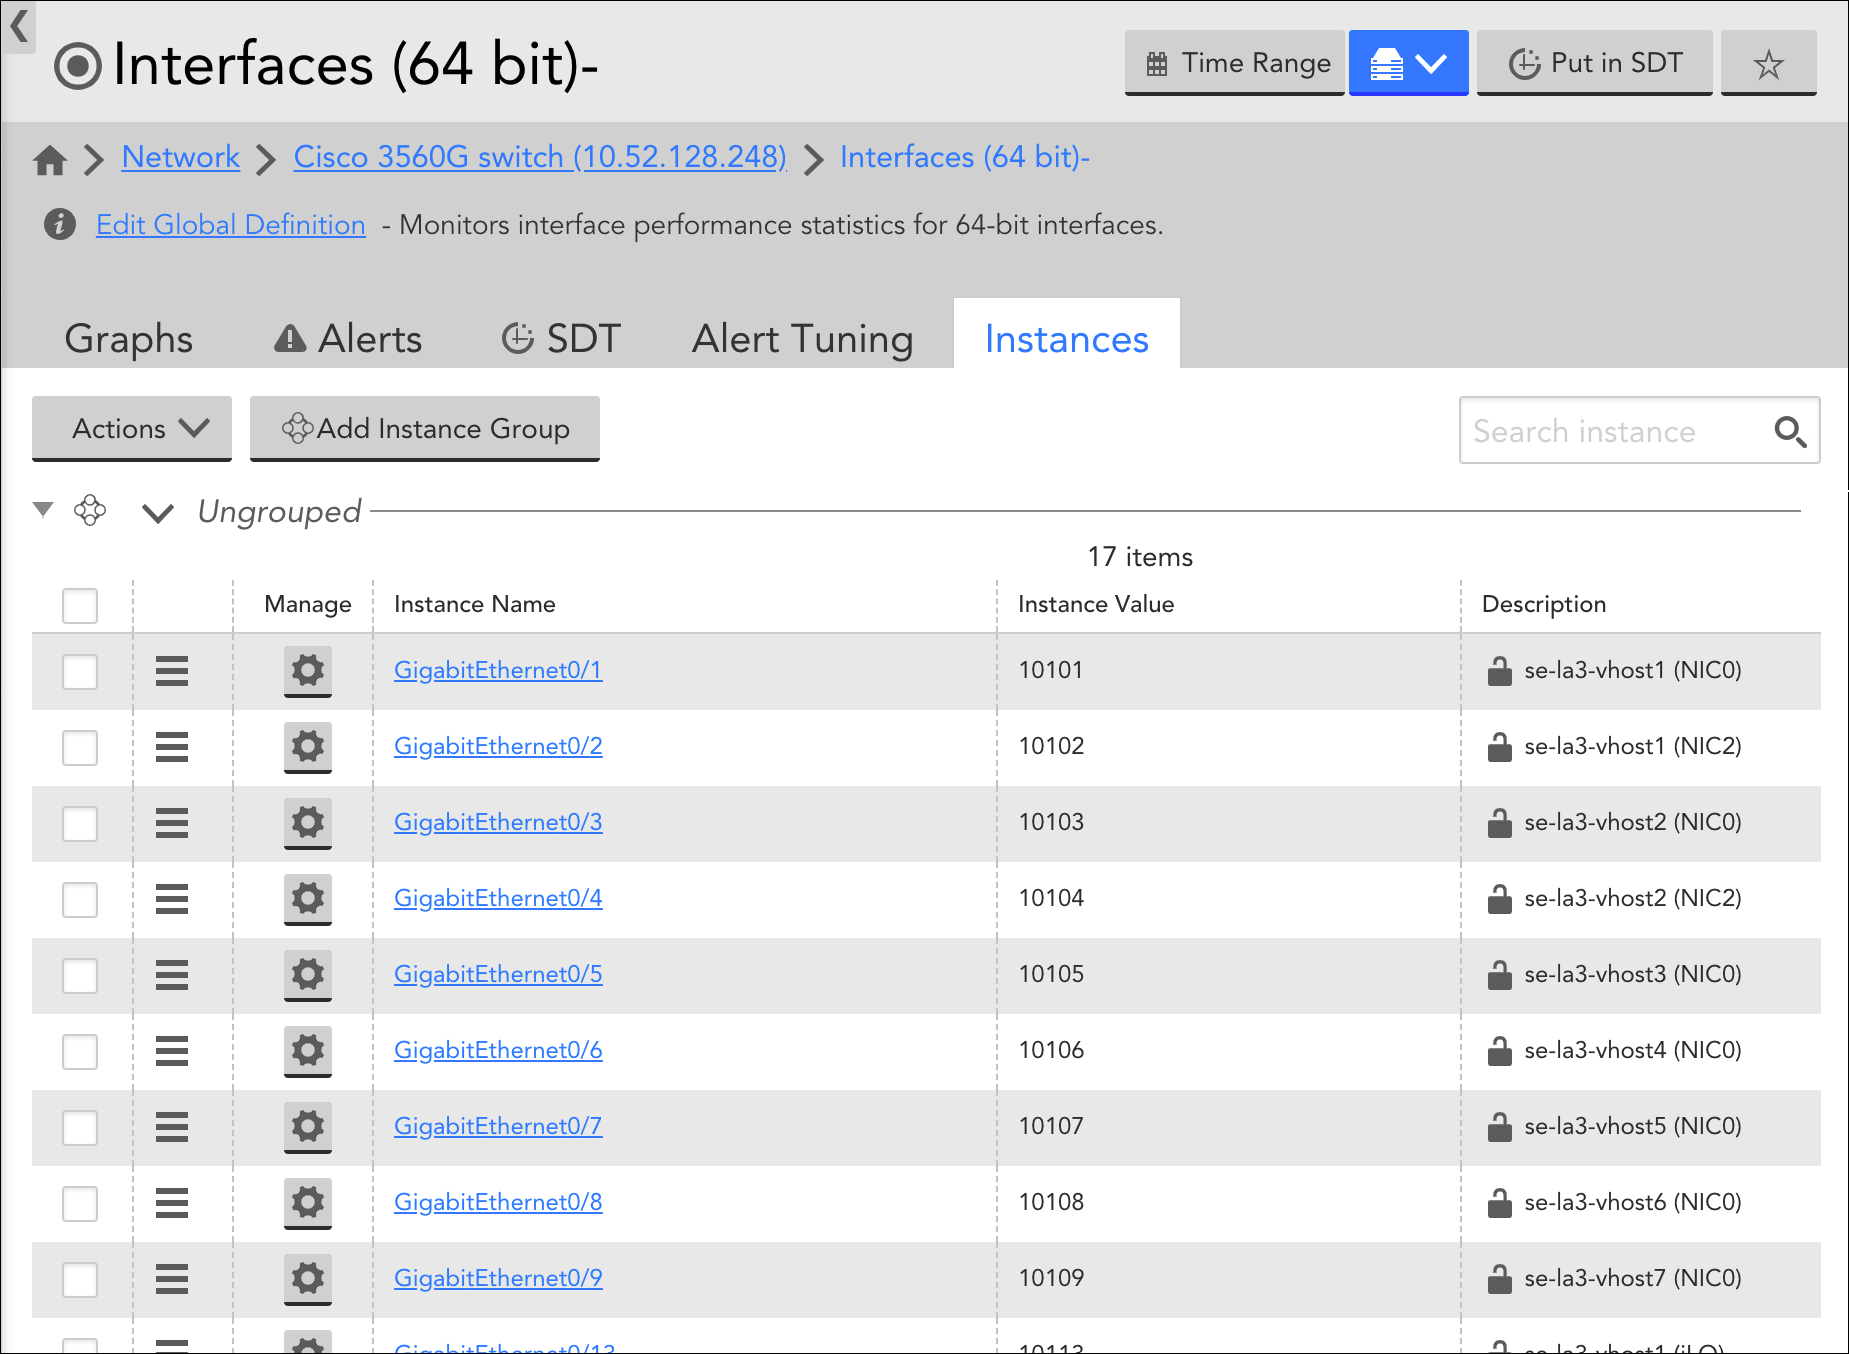
The Instances tab is available from the Resources page. It displays when viewing multi-instance DataSources from the Resources tree. Multi-instance DataSources are DataSources that monitor objects (e.g. disks, server volumes, interfaces, etc.) that can potentially be present multiple times on a single device.
The Instances tab provides an overview table of all the instances found for a particular DataSource on a particular device. It’s a convenient way to quickly view or edit instance detail, as well as perform tasks in bulk such as disabling instances or disabling alerting on instances.
Editing Instances
Click the cogwheel icon in the Manage column of the instance table to open the Manage Instance dialog and edit instance details. If the instance was manually added, you have the ability to edit all instance details including instance name, value, and description. If the instance was added automatically by Active Discovery, only the description is available for editing. For more information on these instance details and the process of manually adding instances, see Adding Instances.
If Active Discovery is enabled for the DataSource, the Allow Active Discovery to overwrite the description option is available. When checked, this option allows the Active Discovery process to overwrite any description manually entered here. The lock icon that displays to the right of an instance description in the instance table depicts an open lock when this option is checked and a closed lock when it’s unchecked. For more information on Active Discovery, see Active Discovery.
You can also manage property assignment for an instance from the Manage Instance dialog. See Resource and Instance Properties for more information on instance properties.
Disabling/Enabling Instances
The Instances tab supports two methods for disabling/enabling instances:
- Manage Instance dialog. Check or uncheck the Enable alerting option found on the Manage Instance dialog (available by clicking the cogwheel icon in the Manage column of the instance table) to enable/disable an instance.
- Instance table. Place a checkmark to the left of one or more instances in the instances table and select Actions | (Disable|Enable) Instance.
Disabling an instance stops data collection for that instance. Upon disabling of an instance, LogicMonitor will automatically create an instance group named “Unmonitored” and populate it with the unmonitored instance. For more information on the impacts of disabling instances, see Disabling Monitoring for a DataSource or Instance.
Disabling/Enabling Alerting for Instances
To disable or enable alerting for an instance from the Instances tab, place a checkmark to the left of one or more instances in the instances table and select Actions | (Disable|Enable) Alerting. For more information on the impacts of disabling alerting, see Disabling Alerting.
Deleting Instances
The Instances tab supports two methods for deleting instances:
- Manage Instance dialog. Click Delete from the Manage Instance dialog (available by clicking the cogwheel icon in the Manage column of the instance table) to disable an instance.
- Instance table. Place a checkmark to the left of one or more instances in the instances table and select Actions | Delete.
Note: When an instance is deleted, all data collected for it (i.e. monitoring history) is also deleted.
Managing Instance Groups
LogicMonitor supports instance groups, allowing you to flexibly show relationships between the instances that are monitored under a DataSource for a single device. From the Instances tab, you can manually create or edit instance groups (assuming they are not automatically created groups), as well as move instances among groups. For more information on managing instance groups (both manual and automatic), see Instance Groups.
Note: In addition to displaying for multi-instance DataSources, the Instances tab also displays when viewing instance groups from the Resources tree, allowing you to view and edit instance configurations for just those instances in the group, rather than all instances found on the device for that DataSource.
