
Disclaimer: This content applies to the legacy UI and is no longer maintained. It will be removed at a future time. For up-to-date content, see Widgets Management. At the time of removal, you will automatically be redirected to the up-to-date content.
Managing Widgets
Last updated - 24 July, 2025
Once widgets have been created, there are a few functions that can help you get the most out of the widgets and associated dashboards.
Resizing a widget
To resize a widget, hover over the bottom right corner. When a one sided arrow appears, click and drag to resize. A pink shadow will appear to indicate the new widget size.
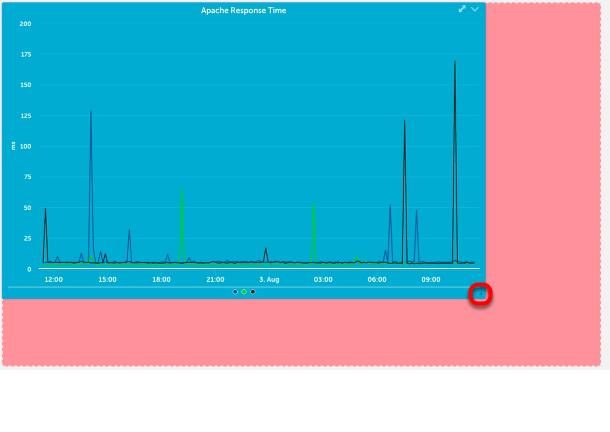
Change time range
To change the time range displayed on a graph widget, you can click and drag to select the area to want to zoom in on. When you release the area selected will become the new time range.
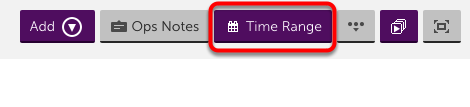
For all other widgets and globally for dashboards, you can use the Date Range button in the upper right on the tool bar.
Clone a widget
To clone a widget, click the drop down arrow on the widget and select Configure, or expand the widget and select the Configure tab. On the bottom left there is an option for clone. Selecting clone will default the widget name to (current name)_clone, and will default the dashboard to the active view. Both items can be changed.

Delete a widget
To delete a widget, select the drop down on the widget and select Remove. Alternatively, you can click configure from the drop down menu and then select delete from the bottom left hand corner of the widget configuration dialog.
