
Website Default Settings
Last updated on 08 December, 2022Overview
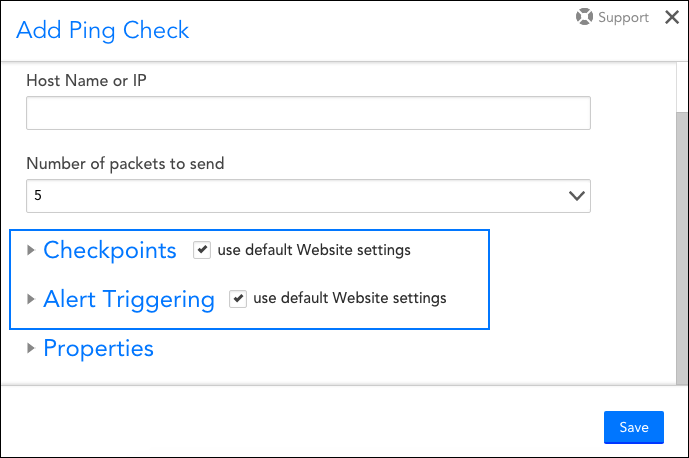
You can set default checkpoint and alert triggering settings for your websites using the Websites Defaults button found in the upper right corner of the Websites page. As shown next, once default settings are established, the use default Website settings option can be checked to quickly apply these settings to any new Web Checks or Ping Checks that you create.
Important: If the use default Website settings option is selected for an existing Web Check or Ping Check, any changes subsequently made to the website default settings will automatically apply to the check.
Note: As discussed in Roles, a user must have manage permissions for all website groups in order to update website default settings.
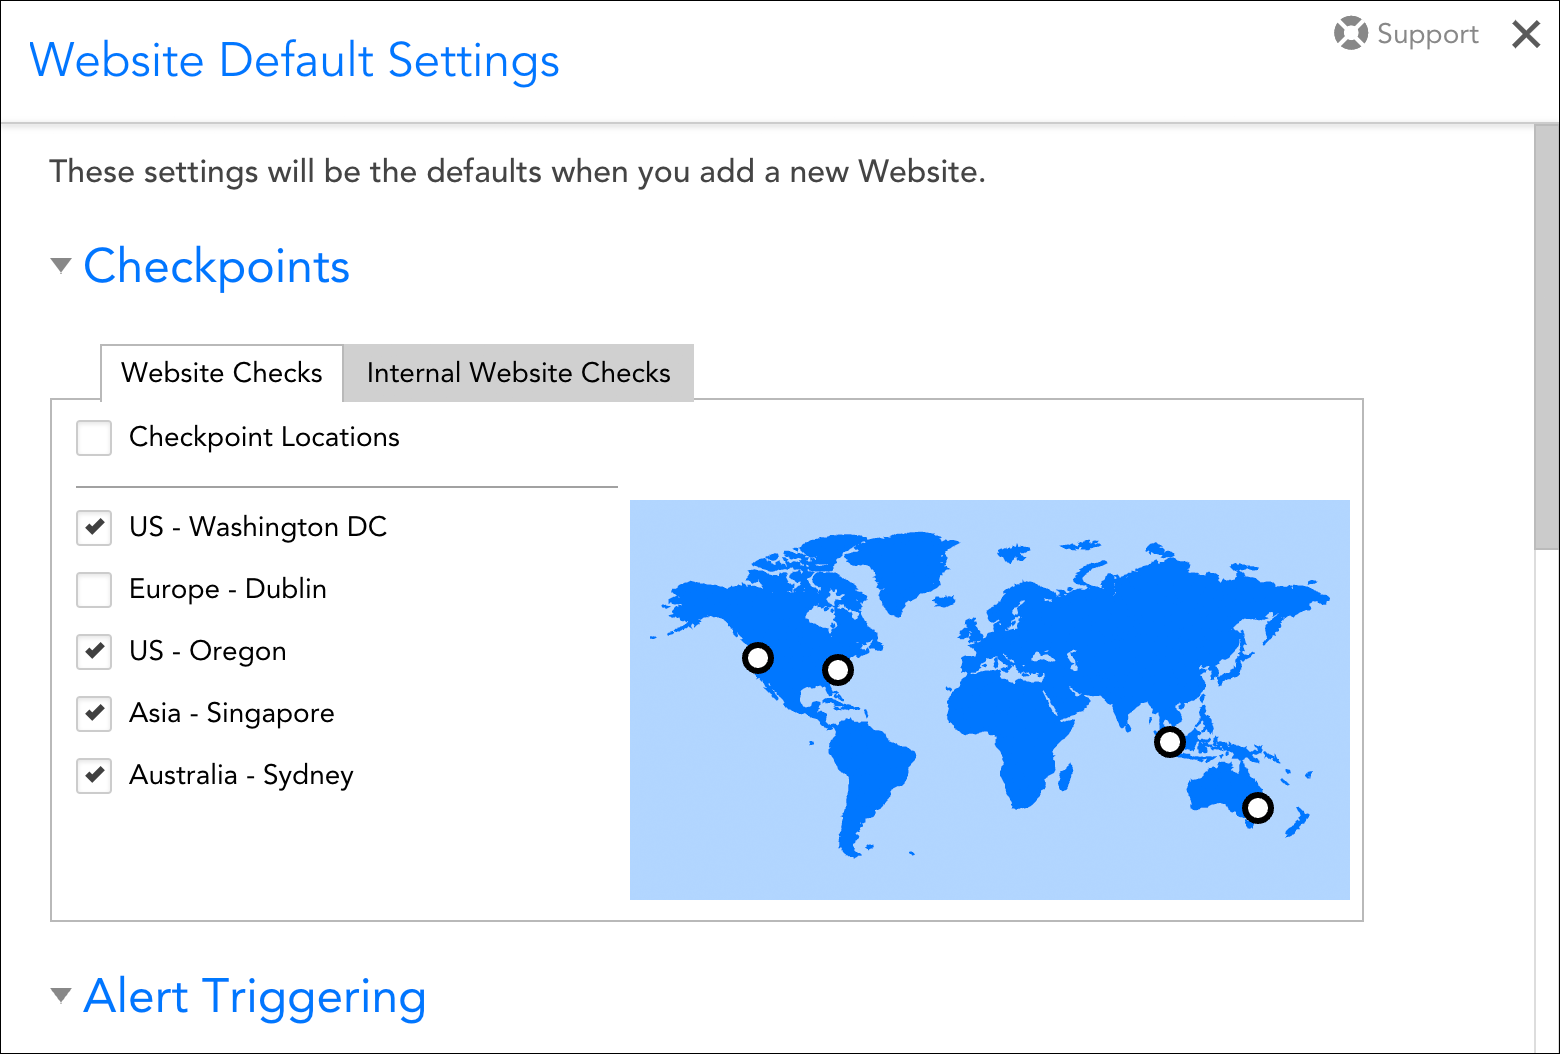
Checkpoint Defaults
Checkpoint defaults can be set for both external LogicMonitor checkpoint locations and internal Collectors.
Note: For detailed information on how to configure checkpoint settings for your external and internal websites and the impacts they will have, see Adding a Web Check and Adding a Ping Check respectively.
Note: The process of establishing website external checkpoint defaults is independent of the process of disabling external LogicMonitor checkpoint locations for your entire account.
Alert Triggering Defaults
Defaults can also be established for settings that specify the conditions that must be met in order for a website alert to be triggered, as well as the severity of the resulting alert(s).

Note: For detailed information on how to configure alert triggering settings for your Web Checks and Ping Checks and the impacts they will have, see Adding a Web Check and Adding a Ping Check respectively.