
Adding a Role Group
Last updated - 05 April, 2023
As with other areas of LogicMonitor, roles can be organized into logical groupings. Once created, roles can be added to the group from the Add Role or Manage Role dialogs.
Creating Role Groups
To create a role group, do the following:
- In LogicMonitor, navigate to Settings > User Access > Users and Roles > Roles tab.
- On the Roles tab, select the Add Role Options + icon, and then select Add Role Group. The Add Role Group page appears.
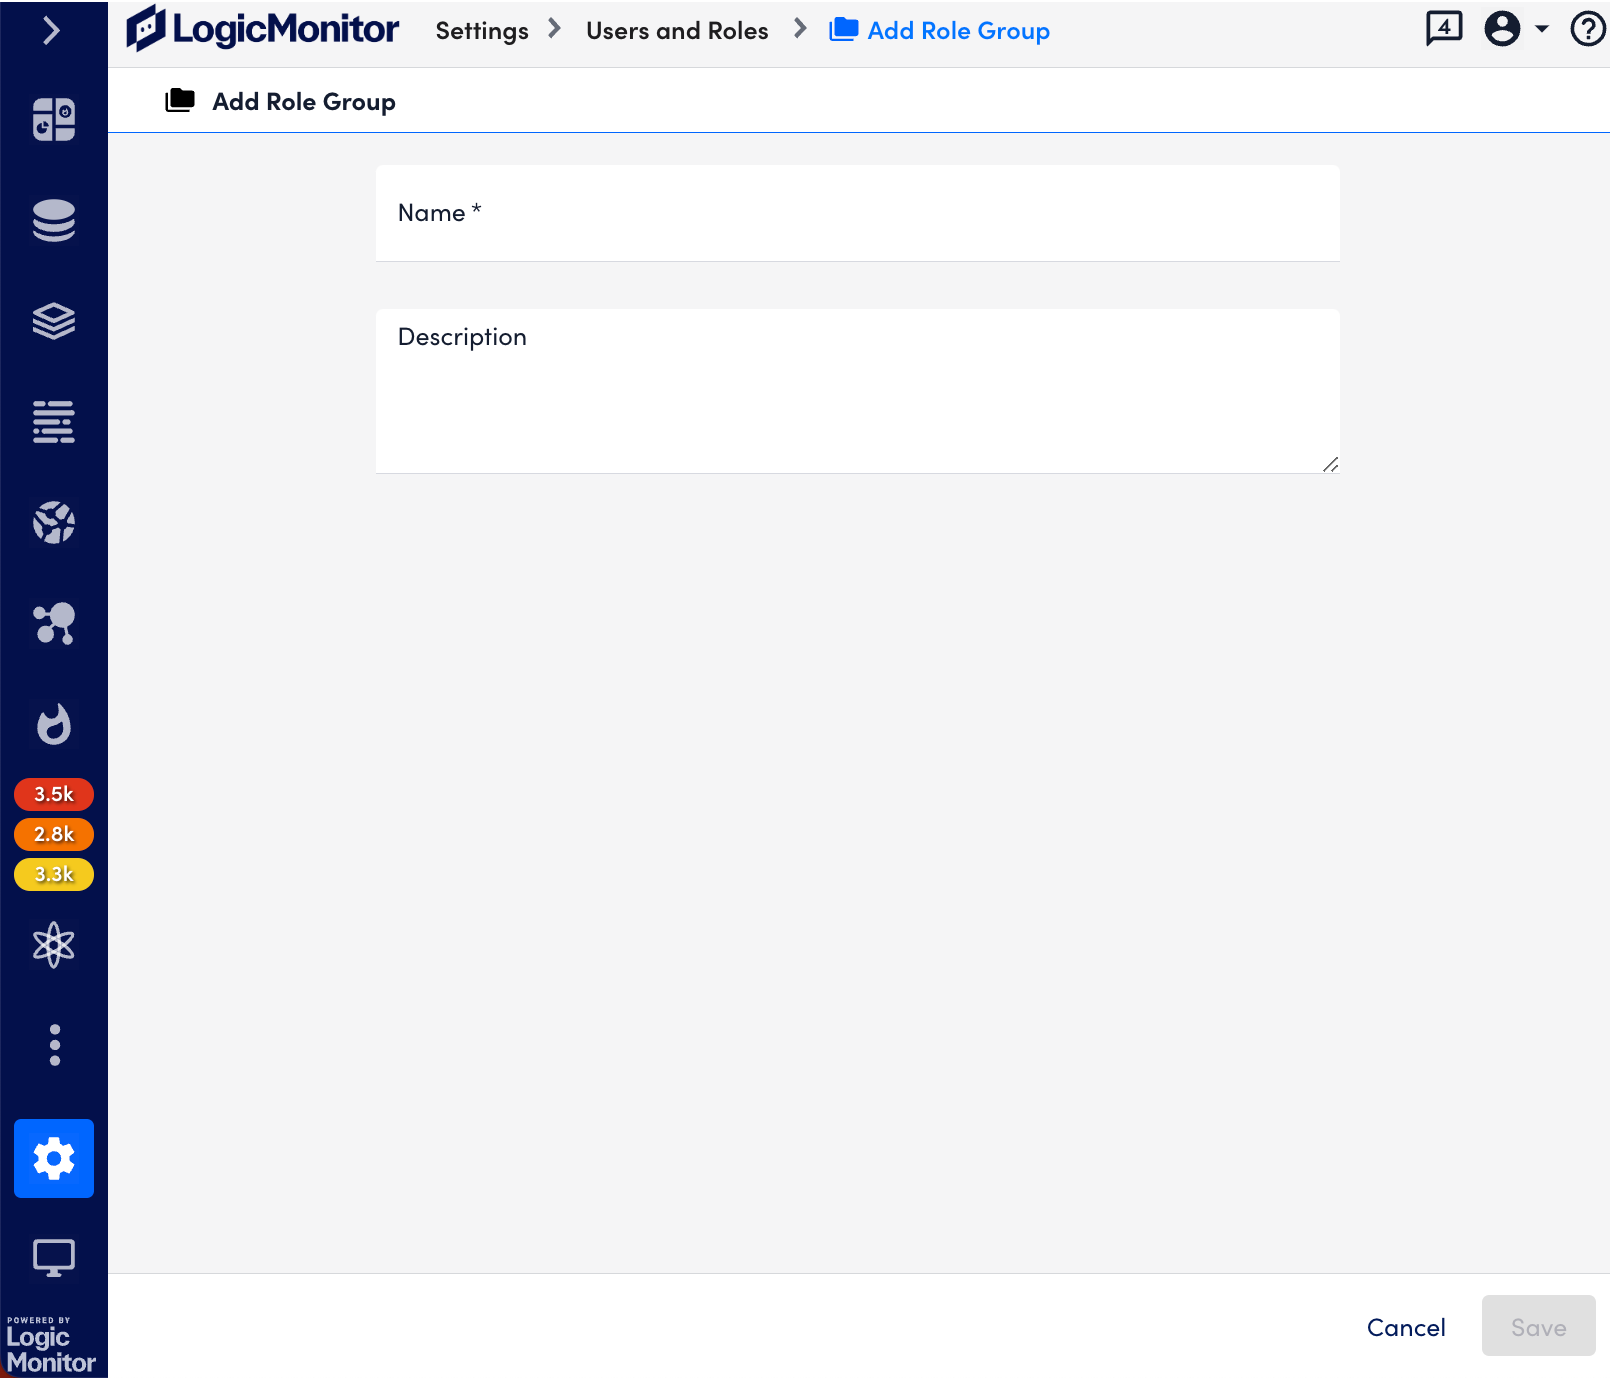
- Provide Name and Description for the role group and select Save. The newly created role group appears on the Roles tab.
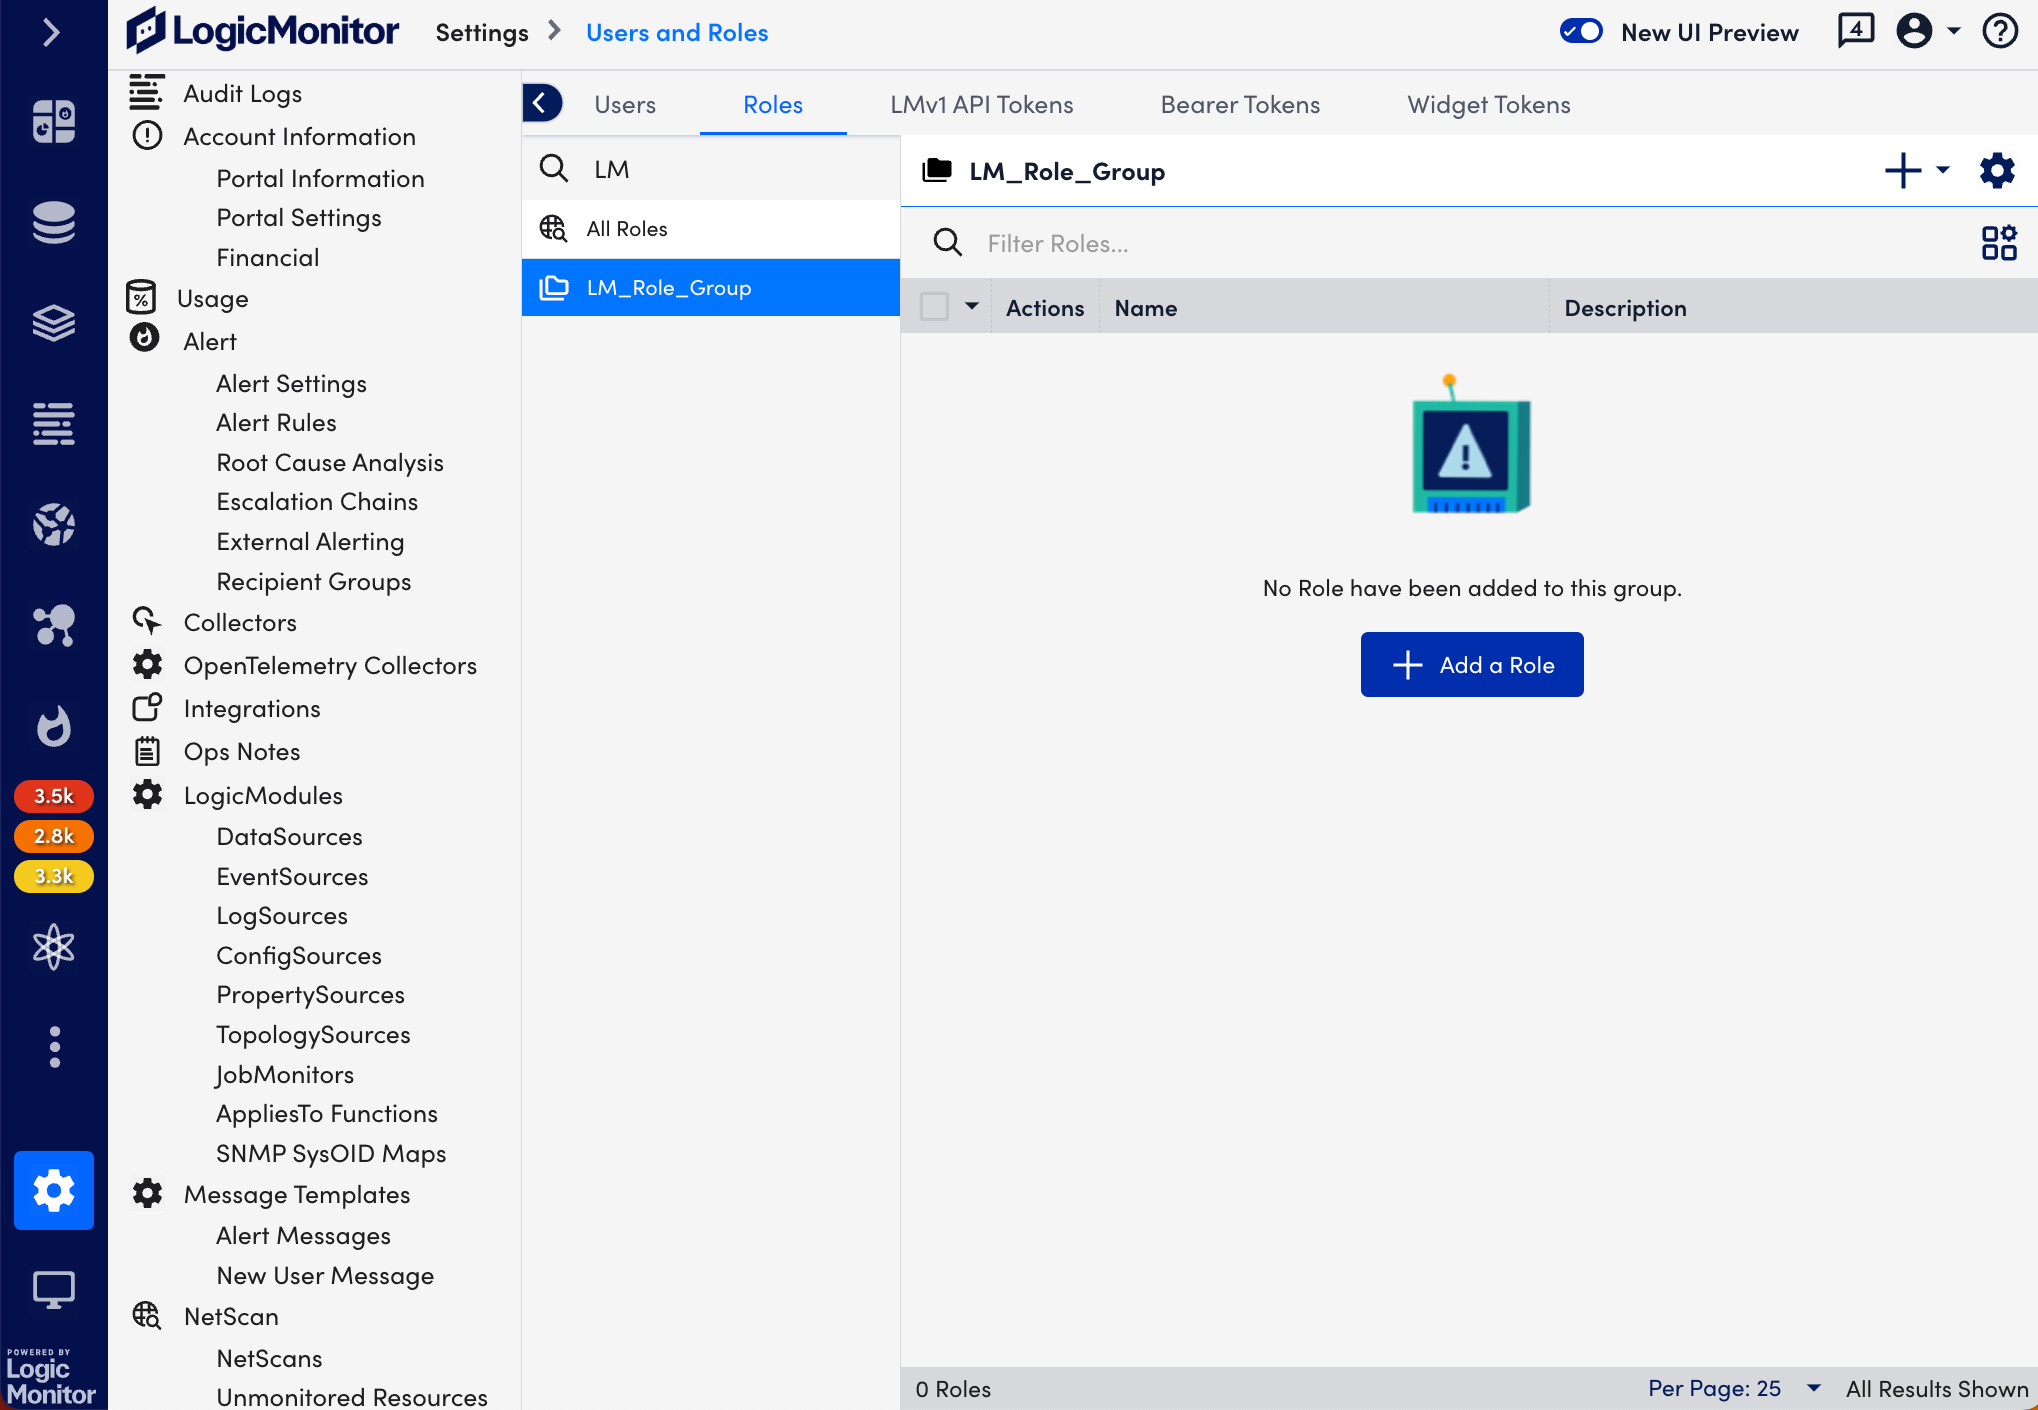
- If you want to add roles to the Roles Group, select Add a Role and provide the further information.
Managing Role Groups
Role groups can be edited or deleted from the Roles tab.
To manage a group, do the following:
- In LogicMonitor, navigate to Settings > User Access > Users and Roles > Roles tab.
- Select the role group you want to manage and then select the Manage icon.

- On the Manage Role Group page, edit the Name and Description, and select Save.

- If you want to delete the role group, select Delete.
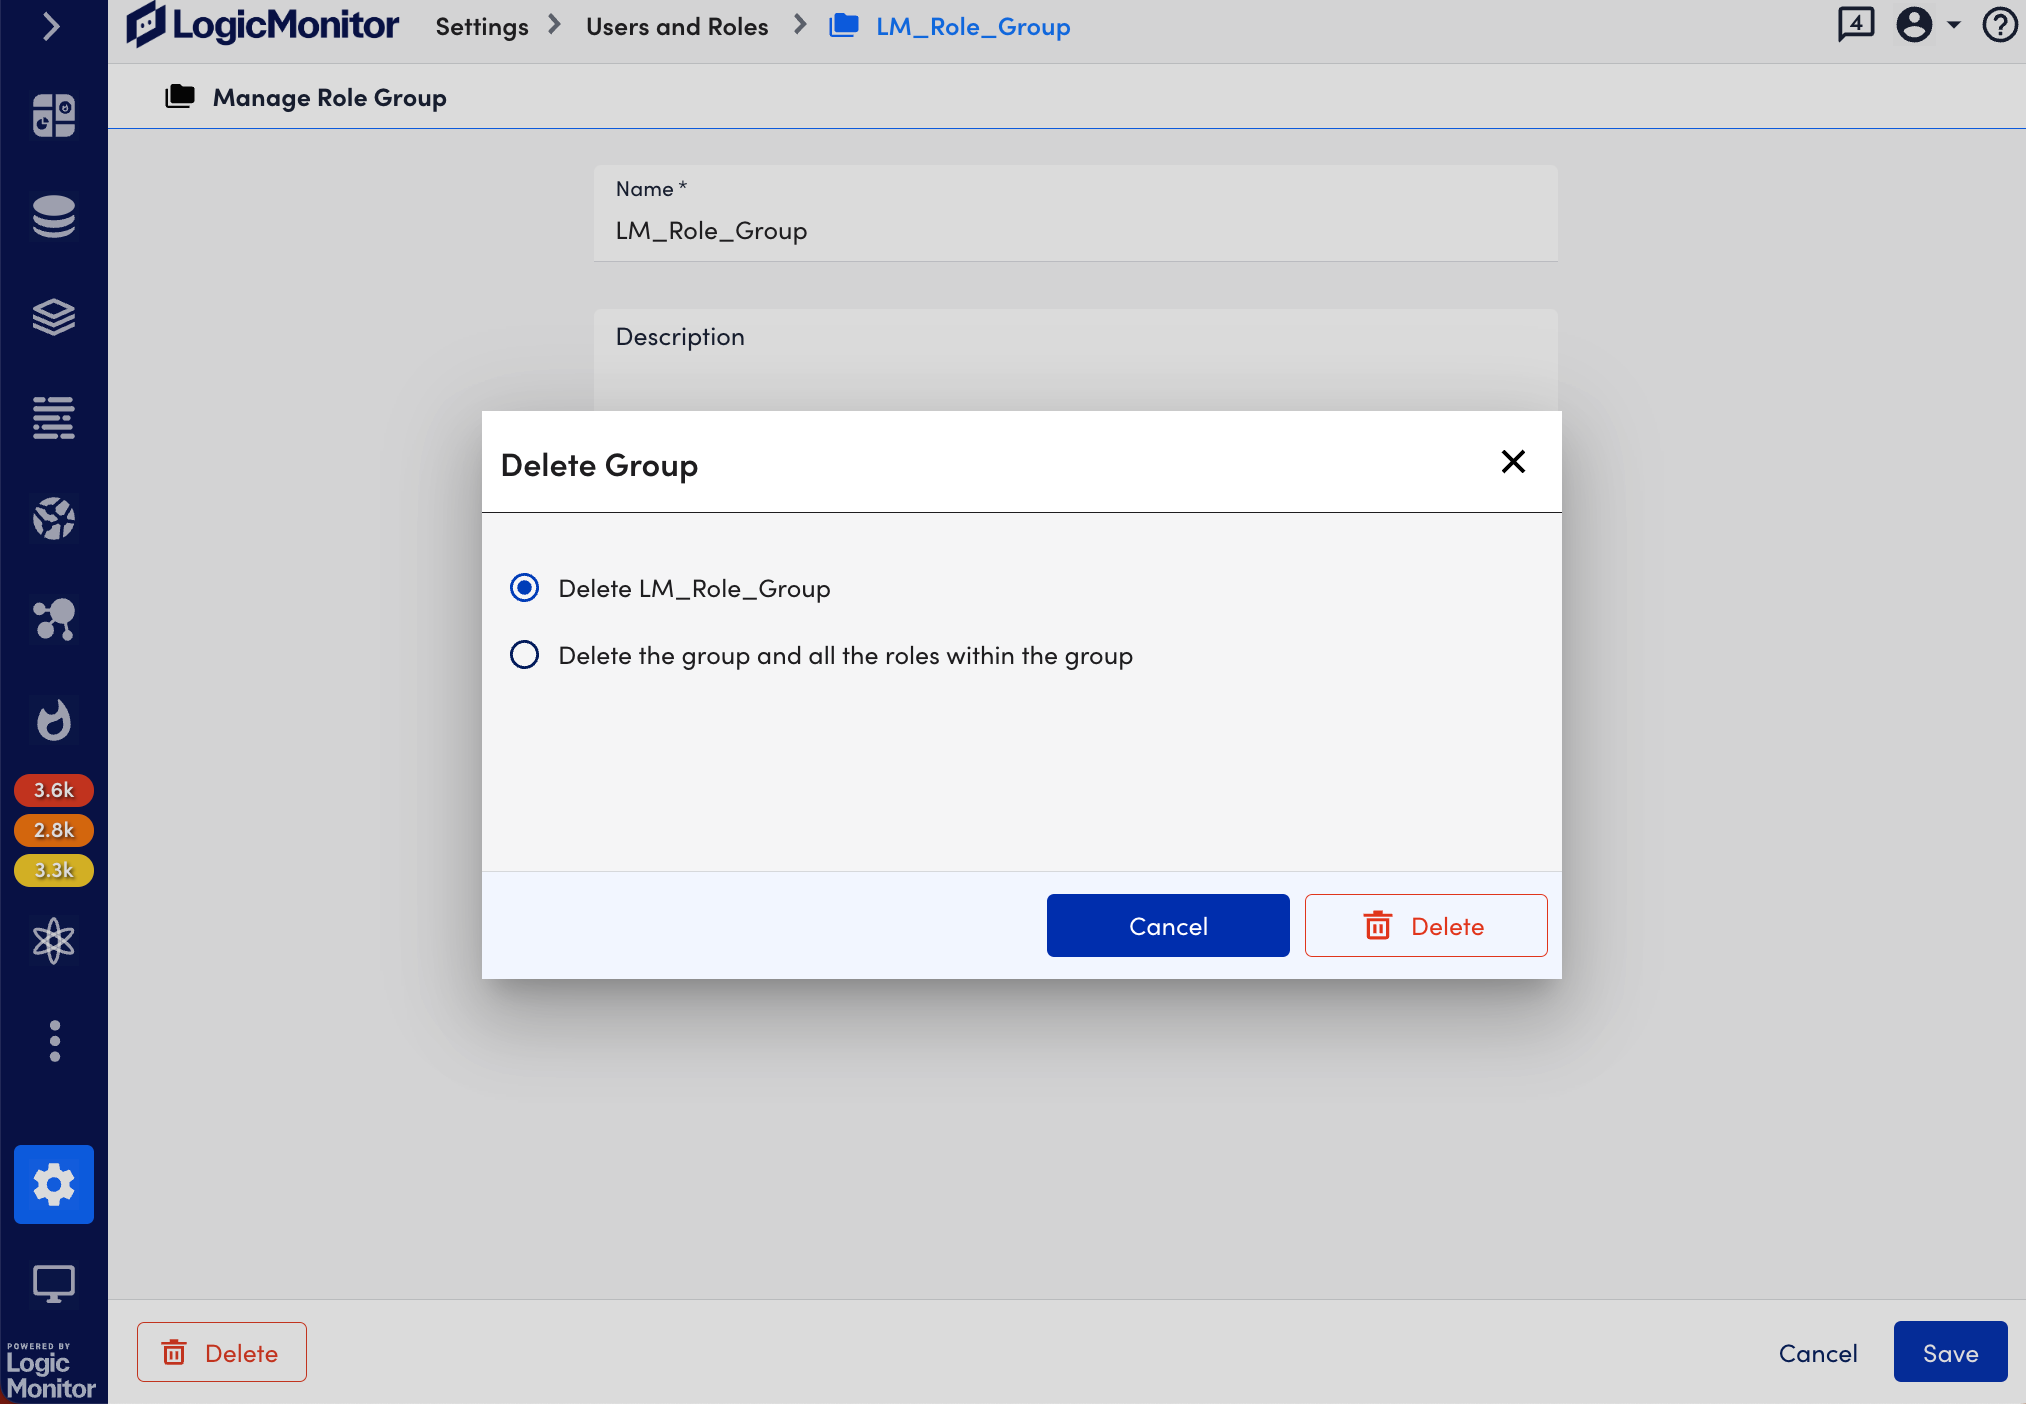
- Select any of the following options, and then select Delete.
- Delete group only. This option deletes the group and moves any member roles to the default “Ungrouped” group.
- Delete group and all the roles within the group. This option deletes the role group and all of its member roles. If users are currently assigned to any of the member roles, they must first be unassigned before the role can be deleted.
