
Edwin AI PagerDuty Integration
Last updated - 05 September, 2025
The Edwin AI PagerDuty integration is an outbound integration. This means Edwin AI initiates communication by sending incidents to PagerDuty. This integration enables automated incident creation in PagerDuty based on alerting conditions defined in Edwin AI. It supports server-to-server communication and leverages OAuth 2.0 for secure authorization.
You can use the Edwin AI PagerDuty Integration to do the following:
- Automatically create PagerDuty incidents from Edwin AI alerts
- Route different incident types to specific on-call teams usingPagerDuty service IDs
- Configure outbound-only authentication with OAuth 2.0 credentials (client ID and secret)
Configuring the Edwin AI PagerDuty Integration involves the following:
- Registering a PagerDuty application
- Adding a PagerDuty action to an action group and configuring mapped fields
This process supports centralized alert handling and ensures LogicMonitor and PagerDuty remain synchronized in real time.
Requirements for Configuring the Edwin AI PagerDuty Integration
To configure the Edwin AI integration with PagerDuty, ensure you have the following within PagerDuty:
- A PagerDuty user with “Advanced” permissions set
- Your PagerDuty subdomain (for example,
company.pagerduty.com) - Your PagerDuty region (US or EU)
In addition, in Edwin you need an Edwin AI user with “Manage” permissions set.
Note: The integration supports outbound communication only and does not support webhook-based or inbound workflows.
Registering a PagerDuty Application for Edwin AI
- In PagerDuty, navigate to the App Registration page.
Note: If you have a developer account with PagerDuty, you are automatically taken to the App Registration page when you log in. If you have a customer account with PagerDuty, and need more information on how to access App Registration in PagerDuty, see Accessing App Registration Page from PagerDuty.
- Select My Apps page > select New App > then complete the App Information form and ensure the following:
- Enter in all required fields
- In the Functionality section, select OAuth 2.0.
- To configure the OAuth 2.0 authentication, select Next, then do the following:
- In the Authorization section, select “Scoped OAuth.”
- In the Permissions Scope section, select the following permissions:
- Incidents.read
- Incidents.write
For more information, see Scoped OAuth from PagerDuty.
- To generate your PagerDuty Client ID and Client Secret, select Register App.
Save your Client ID and Client Secret in a secure location for later use.
After you register your PagerDuty application, send the following information to your Edwin AI administrator:
- Client ID and Client Secret
- PagerDuty Subdomain and Region
The Edwin team stores these credentials in the secure backend configuration for your organization.
Adding a PagerDuty Action to an Action Group
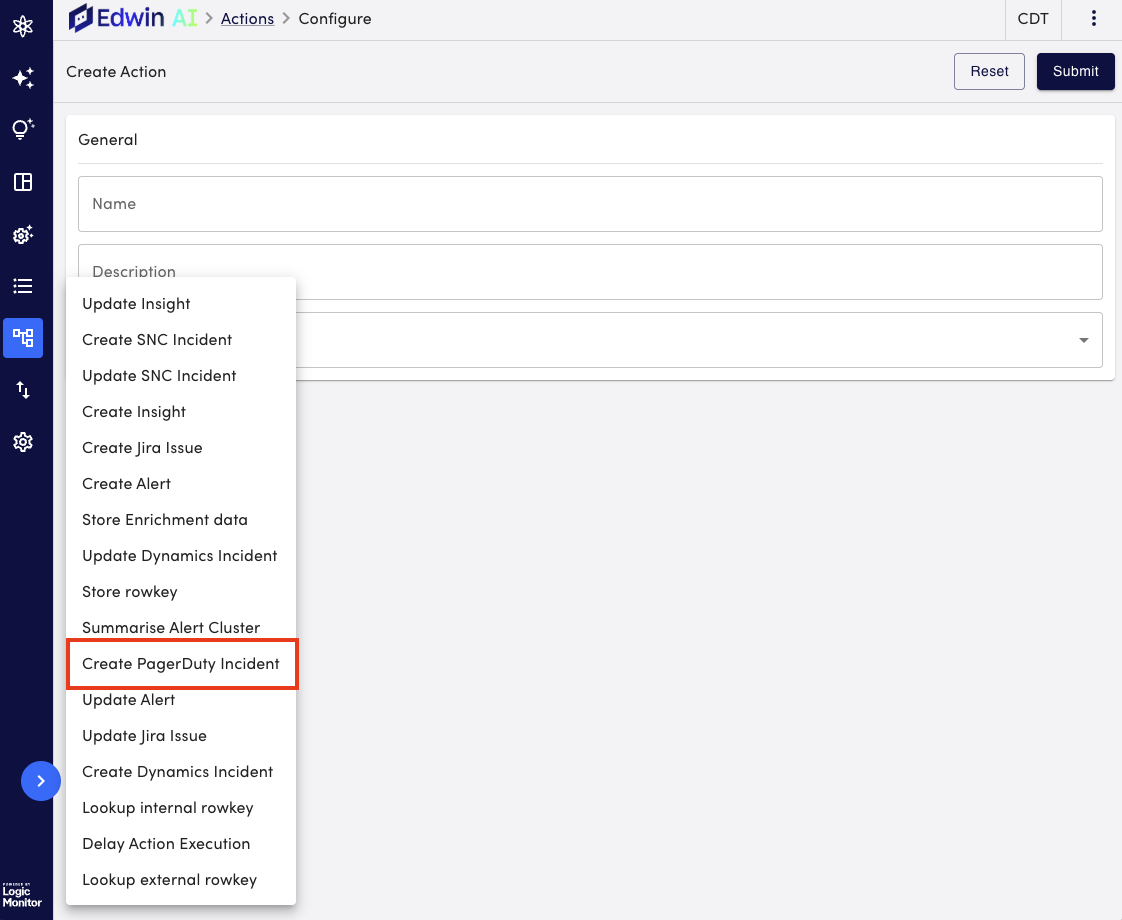
- In LogicMonitor, navigate to Edwin AI > the Actions page.
- Select Edit on either your Alert Correlation action group or Create Incident (Insight) action group.
- To configure your action, select “Create PagerDuty Incident” from the Add Action dropdown menu, and do the following:
- Enter in the general information. For more information on each field, see Creating and Editing an Action in Edwin AI.
- Enter the following values for the mapped fields:
- Service ID—Identifies the PagerDuty service that receives the incident.
- Title—The subject line for the incident.
- (Optional) Body details, URL, Incident key fields—Use these fields to enrich the incident with additional context.
For more information, see Configuration Parameters for Actions – Mapping Fields.Important: Both Service ID and Title must contain values. If either field is missing, the incident cannot be created in PagerDuty.
- Select Submit.
Your PagerDuty action is added to your action group.
For more information on how to assign actions to rules, see Edwin AI Rules.
