Disclaimer: This content applies to the legacy UI and is no longer maintained. It will be removed at a future time. For up-to-date content, see Text Widget. At the time of removal, you will automatically be redirected to the up-to-date content.
Text Widget
Last updated - 24 July, 2025
With the Text widget, you can add HTML text or images to your dashboard. This is particularly useful for creating To-Do lists for your team, posting project or company updates, including customer logos, or adding anything else you may find useful.
Configuring your Text Widget
To create a Text widget, you will need to select “Text Widget” from the “Add Widget” menu.
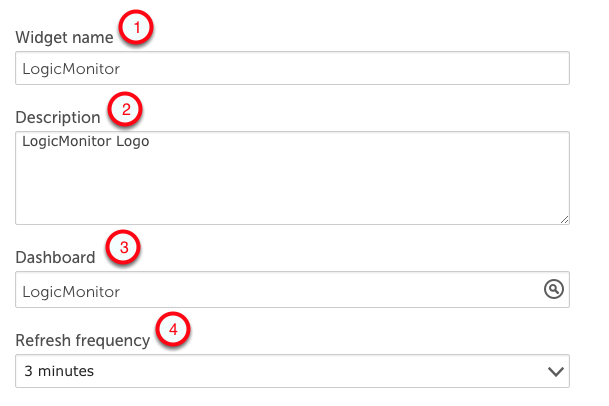
A configuration window with the following fields will open:
- Widget Name: A descriptive name of your new Text widget
- Description: A brief description of this Text widget indicating what it is or its purpose.
- Dashboard: Select the dashboard on which you want this Text widget to appear
- Refresh Frequency: The frequency with which the widget will update.
Text Options and Adding an Image
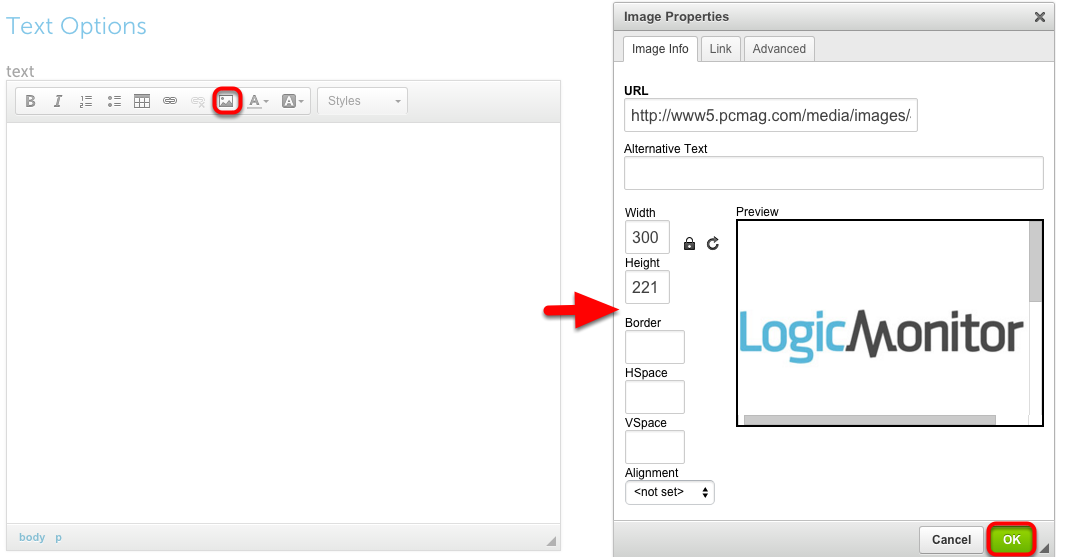
Once you configure the basic settings of your Text widget, you will use the Text Options field to either insert HTML text or add an image. A maximum of 65,535 characters are allowed.
If you choose to include an image (ie. a customer’s logo), click the “Add Image” button (boxed in red below). Then, a new window will open in which you can include the desired image URL as well as configure its height/width, HSpace, VSpace, and alignment within the widget. Once you have configured the image, click “Ok.”
Widget Appearance
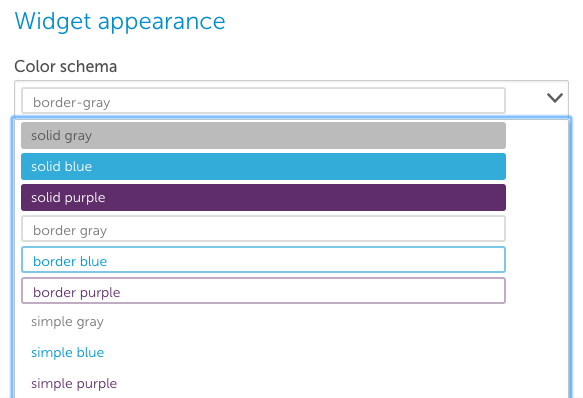
Finally, you can configure the color schema of your Text widget by clicking on the Color Schema dropdown menu. If you do not customize this section, it will default to border-gray.
Once finished, click “Save” and the Text widget will appear on its designated Dashboard.